Riding a bike isn’t just a mode of transportation — it’s a passion, a sport, and a lifestyle. From the adrenaline rush of BMX and MTB stunts to the serene beauty of a gravel bike ride through nature, it offers endless photographic opportunities. Whether you’re capturing the speed of a race or the tranquility of a countryside ride, the right equipment can make all the difference. FUJIFILM’s X-Series cameras are designed to help you capture every moment with stunning clarity and creativity.
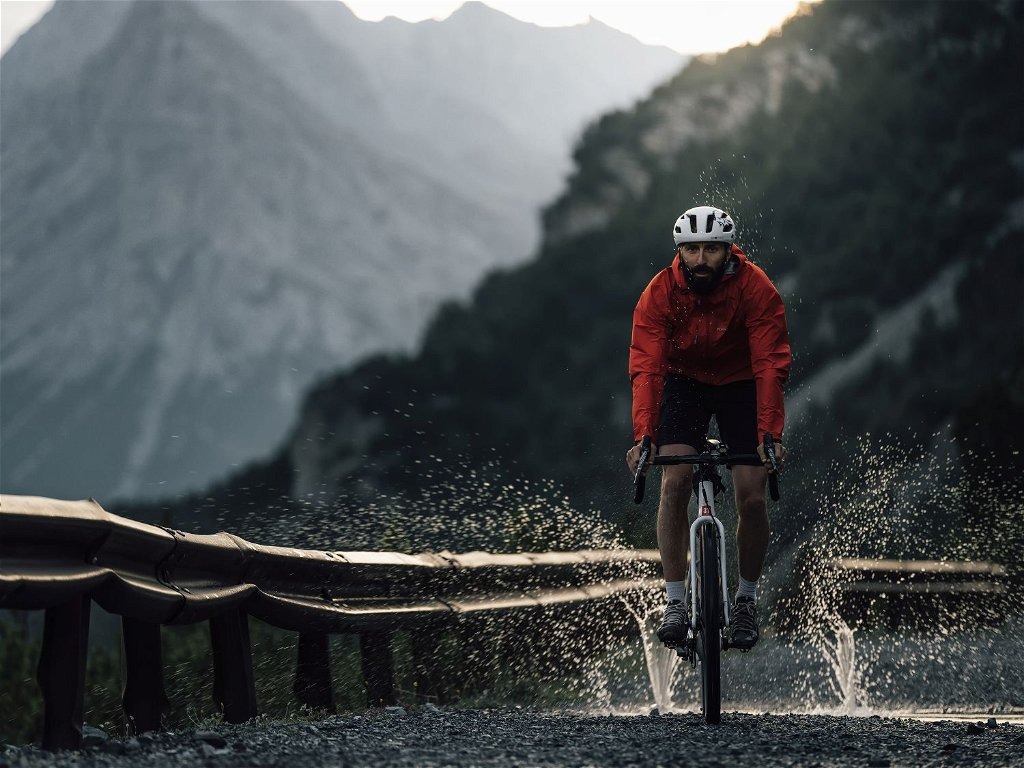
Each type of bike — be it a BMX, MTB, gravel bike, or cargo bike — tells a unique story. The dynamic movements, rugged terrains, and urban landscapes provide a rich canvas for photographers. A commercial and editorial photographer and filmmaker, Bert Stephani, knows it firsthand. Aiming to strike a balance between authentic reportage and cinematic visuals, he took our new flagship camera, the FUJIFILM X-H2S, on a gravel biking journey to test it out – and found his perfect partner in crime.
Maximize your shots with FUJIFILM X-Series
FUJIFILM X-Series cameras are renowned for their exceptional image quality, versatility, and ease of use, making them ideal for bicycle photography. Below, we’ve gathered several tips on how you can use FUJIFILM X-Series products to elevate your bicycle photography.
Fast Autofocus:
Whether you’re shooting a high-speed BMX trick or a mountain biker navigating a rocky trail, the fast and accurate autofocus of the FUJIFILM X-Series ensures you never miss a moment.
High Resolution:
Capture every detail of your ride with the impressive resolution offered by the FUJIFILM X-Series. The sharpness and clarity bring your photos to life.
Versatile Lenses:
From wide-angle lenses that capture expansive landscapes to telephoto lenses that zoom in on the action, Fujifilm’s range of lenses allows you to adapt to any photographic scenario.
Compact and Durable:
The lightweight and durable design of FUJIFILM X-Series cameras means they can withstand the rigors of any biking adventure, from urban streets to mountain trails.
Film Simulation Modes:
Our unique film simulation modes let you add a creative touch to your photos, mimicking the look of classic film stocks.


Tips for stunning bicycle photography
A little detail can change the whole perception of the shot. Sometimes, the play of light and shadow or the right angle can make a huge difference. However, the challenge is also to show the sense of speed and freezing the moment in time that tells a story. So, how to take bicycle photographs that evoke the emotion, making you stop and stare?
Timing is Key:
Shoot during the golden hour (just after sunrise or before sunset) to capture soft, warm lighting.
Composition Matters:
Use leading lines, such as bike trails or roads, to draw the viewer’s eye into the image.
Action Shots:
Pan with the movement of the cyclist to create a sense of speed and motion.
Tell a Story:
Capture the environment and the rider’s expression to convey the emotions and story behind the ride.
Bicycle photography is a rewarding and exciting genre that allows you to combine your love of cycling with your passion for photography. With FUJIFILM X-Series cameras, you have the perfect tools to capture the essence of every ride. So grab your camera, hop on your bike, and start creating stunning visual stories today.
Get inspired
To view examples of stunning bicycle photography shot with FUJIFILM X-Series cameras from around the globe, check out our Pinterest widget. Here, you can learn about inspiring user-generated content and find ideas to start on your own bicycle photography adventure!
Featured image by Daniele Molineris.


