During the lockdown, our pets were the best coworker, and today, for the world cat day we would like to suggest 5 tips & tricks to make perfect pets photo. We are aware that taking photographs of pets can sometimes be as difficult as shooting but don’t worry if you follow these 5 tips you can do the best picture ever of your pets!
Use Sun Light You don’t certainly have to worry about flashes and intricate lighting setups when taking photos of pets. Natural light is almost always best in these circumstances, we won’t frighten them or produce red-eye in your images.
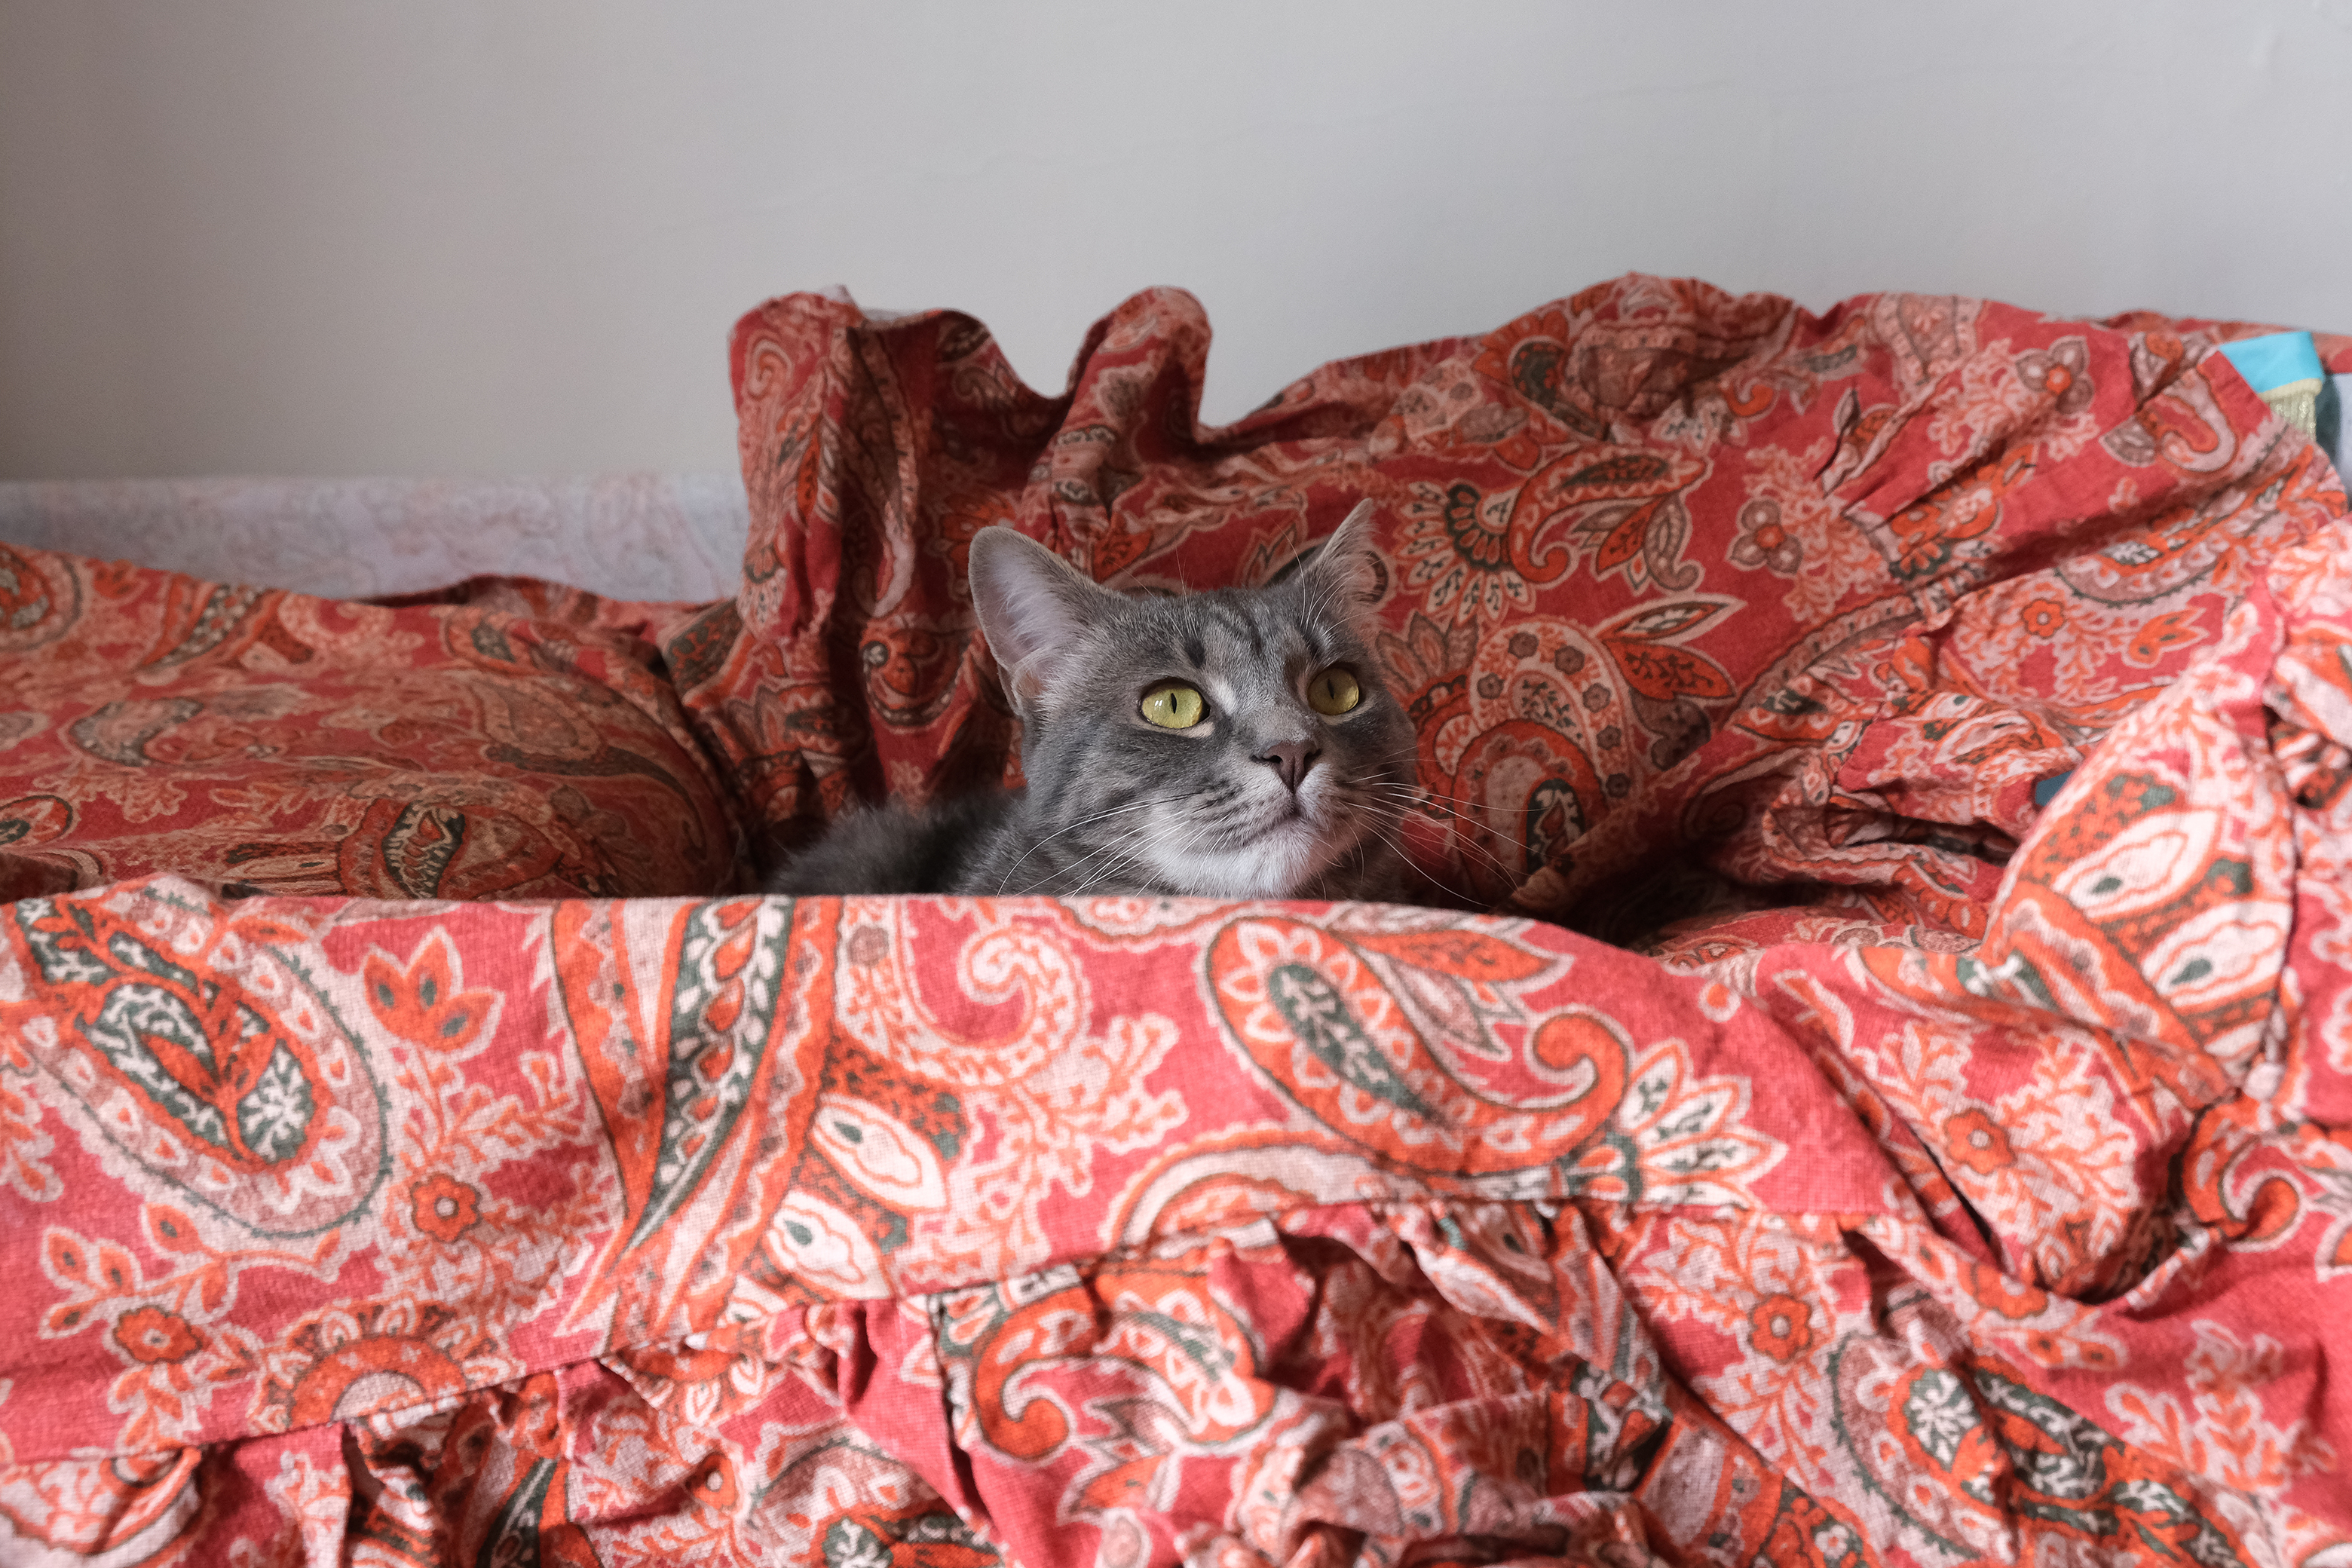
Stay at their Level Everybody is used to seeing pets from above, try shooting from various angles. You may have to crouch with your camera or lie on your floor to level the camera the objective is to show the world from their point of view.
Take Their Attention A few treats and favourite toys can go a long way in getting pets to stay put and call for your pet’s attention. Shoot when they look in your direction and you’ll be able to capture them with their full attention on your camera.
Apply Fast Shutter Speeds Because your pet will be moving quickly and you want to make sure the photos are free from blur you’ll need to use a camera that offers fast shutter speeds to freeze action.
Be creative and, of course, be patient! Be creative, you can try to be a little more original: try to focus on the details! Their ears or their eyes for example. But aside from camera gear and photography know-how, another important thing that pet photography requires is PATIENCE. Be patient and enjoy with your pet!
Looking forward to seeing your pet portraits! 😉
Photographers: Camilla Mastaglio, Riccardo Scotti, Marcella Fenti
Stargazers take note: A comet from the outer reaches of the Solar System, nicknamed Neowise, is providing a spectacular show. It’s definitely a special heavenly spectacle, because it passes by Earth so closely, it’s visible to the naked eye. Neowise (aka C/2020 F3 NEOWISE) won’t be back for another 6,800 years. It will reach its closest point to Earth on 23 July, at a distance of just over 100 million km. The comet can be spotted across the northern hemisphere, approximately one hour after sunset and before sunrise. Neowise is visible when the sky is dark enough to show it’s bright tail and makes for a special treat for astrophotographers. So, here are a few basic tips for photographing the comet successfully.
Photo by Bin Zhang
Planning
First of all, you have to ask yourself when and where to set up the shooting location. Your chances of spotting it are better, the closer the comet is to earth – which is the case between 15 – 25 July. You can easily track where the comet is for your location by using star-tracking and night sky apps. The chance of seeing it in the early evening improves – so long as the weather co-operates and the sky is nice and clear. That’s why checking the weather before heading out is crucial to a good photograph of the comet. After checking the right timing, and where to see Neowise, pick an elevated spot, away from light sources. The further away from city lights the better.
Photo by Eugen Kamenew
Equipment
As essential as the camera itself, is a tripod sturdy enough to take the weight of your gear and hold it still for up to 30 seconds.
Beyond that, you really just need a lens with a focal length of at least 100mm, though obviously the longer your lens, the more the movement of night sky objects will be magnified and the better your shot will be. Because you will be shooting in the dark (obviously!), you should shoot with a fast lens.
Photo by Eugen Kamenew | X-T1 | XF10-24mmF4 R OIS | F4 | 30.00 sec. | ISO 6400
Settings
For focusing at night, you will want to switch your camera over to manual focus. Manually adjust the focus ring until you have a sharp pinpoint of light. In manual mode, we’ll need three things: a wide aperture; long shutter speed; and high ISO. This maximises brightness when shooting in the dark. Set your aperture to maximum because you want to let in as much light as possible. Then, you need to use a suitable exposure time to ensure you get a sharp picture of Neowise. If you’re not sure how long to expose for, check the ‘500 Rule’ which suggests you take 500 and divide it by the focal length (in full frame terms) of your lens to give you the longest exposure you can use before stars begin to trail. Because we are limited to relatively short exposure times, we need to bump up the ISO considerably. Expect to shoot at ISO 1,000 or more depending on how dark the sky is and the maximum aperture value of your lens. Images of the night sky need to be edited slightly differently from daytime images, so make sure you shoot RAW so you can pull out more detail and colour in your final image.
Now, you may also want to use an external shutter release remote, turn on exposure delay mode, or use a self-timer mode to avoid camera vibration during the exposure.
Astrophotography takes patience and technical skill, but the results are worth the effort. We hope this article helps you to capture Neowise, this rare and incredible spectacle in the coming days. So for now, we wish you clear skies!
Photographs are the perfect way to preserve those memories that you never want to forget. With a personalised photo puzzle you can relive memories piece by piece and keep them forever.
We can definitely understand the new puzzle hype: Staying at home with a cup of coffee, enjoying time with your family and putting some music on – while doing a jigsaw puzzle. They don’t require you to read instructions or get your head around new terminology. It’s the perfect way to relax at the end of a long day or for a fun family activity on a rainy day. Even better, then, is being able to puzzle a personal image that will recall fond memories: It’s unique, offers an opportunity to reminisce, and might even allow you to discover details you didn’t notice before.
Given as a gift, a personalised puzzle is a great way to transport emotion and highlight a personal bond – think of it as a framed picture with a fun, interactive element!
MyFujifilm(German Shop) offers photo puzzles in different sizes and in proven Ravensburger quality.
Tip: Photo jigsaw puzzles with a lot of details are easier to assemble than motifs with large, open areas (e.g. the sea).
So stay at home in your #Fujicomfortzone and have fun while jigsawing your personalised puzzle.
Many thanks to instax UK and Mollie Rose for the inspiration and the shots! Check out their instax Blog to get even more inspirational instax DIY ideas.
We hope you’re still feeling healthy, motivated and happy in your #fujicomfortzone. We know, it’s not that easy staying active and having a sport routine without the workout classes at the gym. So why not beeing your own instructor or personal trainer at home?
Here’s a creative solution by Mollie Rose! She decided to photograph 5 cardio and 10 strength & core exercises on her instax mini 11. Whenever you feel like doing a workout you can blindly pick however many you feel like on the day to create your own routines.
Here are some examples of the routines that hopefully give you some inspiration to create your own exercises.
Workout 1
Squat: 3 sets of 20
Stand with your feet slightly wider than your hips, drive your hips back bending your knees and pressing them slightly open. Sit into a squat position while keeping your heels and toes on the ground, chest up and shoulders back.
Mountain Climbers: 3 sets of 20 seconds
Get into a plank position, bring one knee up towards your stomach in one smooth motion, and then repeat the action with your other knee, and continue alternating.
Russian Twist: 3 sets of 30 seconds
Sit on the floor and bring your legs out straight, lean back so your torso and legs form a low V shape. Balance and twist your torso from side to side and feel the burn!!
Workout 2
Burpees: 3 sets of 20 seconds
Stand tall with your feet shoulder-distance apart, bend your knees and squat down whilst bringing your hands to the ground. Jump your feet back into a plank position, complete a pushup and then jump your feet back to meet your hands, and immediately jump up tall off the ground. Land softly into a squat position and repeat.
Jumping Jack: 3 sets of 30 seconds
Stand tall with your legs together and arms by your side. Bend your knees and jump into the air, whilst jumping spread your legs to about shoulder-width apart and lift your arms above your head. Jump back to your starting position and repeat.
Lunges: 3 sets of 20 on each leg
Keep your upper body straight whilst stepping forward with one leg, lower your hips, and bend your knees to about a 90-degree angle. Ensure your front knee is directly above your ankle. Then step back into your starting position and repeat on each leg.
Plank: 3 sets of 30 seconds
Get into a pushup position and put your forearms on the ground propping you up. Squeeze your glutes and tighten your abdominals whilst keeping your neck and spine neutral. Create a strong line from your head to toe and hold.
Workout 3
High Knees: 3 sets of 30 seconds
Stand up straight and place your feet hip-width apart. Quickly drive your right knee to meet your right hand, bring that same leg back down to the ground, and immediately bring your left knee to meet your left hand. Repeat and as you alternate your knees ensure you’re creating a hopping motion and you’re consistently on the balls of your feet.
Donkey Kicks: 3 sets of 15 on each leg
Position yourself on all fours with your hands directly underneath your shoulders. Make sure your back is flat and tuck your chin slightly. Keeping the 90-degree bend in your right knee, slowly lift your left up and back towards the ceiling. The maximum height you should go should feel comfortable and ensures your back doesn’t arch and your hips do not rotate.
Leg Raises: 3 sets of 10
Lie on your back with your legs straight together, slowly begin to lift your legs up to the ceiling whilst keeping them as straight as possible. Engage your core to ensure you don’t hurt your back. Maintaining that core strength, slowly lift your legs back down until they are just above the floor. Hold for a moment and then repeat.
Workout 4
Single-Leg Bridge: 3 sets of 10 on each leg
Lie on your back with your knees bent and feet flat on the floor. Keep your arms at your side with your palms down. Raise one leg until it is stretched out straight off the ground. Then lift your hips until your body forms a straight line. Hold for a moment, then slowly lower down and repeat.
Lizard Jumps: 3 sets of 20 seconds
Step your right foot to the outside of your right hand. Hold for a moment. Switch your legs with a small jump or hop. Hold and repeat.
Side Lunge: 3 sets of 20 on each leg
Start with your feet together and toes facing front. Then step your left leg as far wide as possible, engage your left heel as you drop your hips back and down while keeping the right leg straight. Ensure you keep the soles of your feet on the ground and toes pointed forward.
Side Plank: 3 sets of 20 seconds on each side
Begin on your side with your feet together and one forearm below your shoulder propping you up. Raise your hips until your body is in a straight line and engage your core. Raise your free arm straight up above you and hold. Repeat on the other side.
Locust Pose: 3 sets of 10 seconds
Lie on your stomach with your arms by your side. Inhale and raise your head to look forward, engage your thighs to lift your legs and raise your chest off the mat. Hold for 10 seconds and repeat.
Don’t you feel the same way? It’s difficult to try out a recipe without taking a picture. How wonderful would it be if you could create your own book of all your favourite recipes with cool instax pics? Keep the recipes for making breakfast, lunch, dinner and desserts, etc. in your personalized cookbook. Write down the required ingredients and steps, and decorate each page with pretty instax photos.
1. Write the recipe down in a notebook, and then prepare the necessary ingredients.
2. Start making the food and take photos of the important steps with your instax.
3. When all is finished, take a photo of the food. Zoom in so the image fills the frame, making it look really tasty.
4. Paste the photos in the notebook. Now your original cookbook is ready.
Weekend mode on in our #Fujicomfortzone. Time to relax and recharge. It is also Mother’s Day on Sunday. So the perfect timing to give you loved ones (and yourself) a treat. Therefore, we would like to share this recipe with you.
What you need:
500g flour
250g butter
120g sugar
2 eggs
1 pinch of cinnamon
1 tbsp rum
1 kg of apples
Some cinnamon, sugar and rum for the apples
Raisins who likes
From flour, butter, sugar, eggs, knead a shortcrust and season with cinnamon and rum. Leave the dough cold for 30 minutes.
Peel apples and cut into small pieces.
Refine with cinnamon, sugar and a little bit of rum and let crackle, if necessary add raisins.
Grease the springform (28cm), roll out one third of the dough and place it in the mold as a base.
Build the edge with the second third of dough.
Put the apples in the mold. Roll out a lid of the remaining dough to cover the apples and press the edges.
Bake the cake at 180 degrees circulating air for about 45 minutes and then leave for 10 minutes in the residual heat.
Enjoy your fresh and yummy apple pie and enjoy your weekend!
Feel invited to #neverstop eating healthy and fresh in your #fujicomfortzone. Read more.