howto

Midsommar in Sweden: create your perfect festival scrapbook

Midsommar is one of the most celebrated holidays in Sweden which marks the summer solstice and the longest day of the year. It is always filled with joy, tradition, and stunning scenery. From dancing around the maypole to enjoying sumptuous feasts, every moment is worth capturing and cherishing. One of the best ways to immortalize these memories is by creating a personalized festival photo book, preserving the magic of Midsommar for years to come. You can easily transform your festival memories into a stunning photo book with MyFUJIFILM products and your X-Series camera or smartphone. And here’s how to get started.

Step 1. Select photos

Begin by reviewing your collection of Midsommar photos. Choose the ones that evoke the strongest emotions and best capture the spirit of the event. Whether it’s a panoramic view of the midsummer pole against a backdrop of clear blue skies or a candid shot of your friends adorned with flower crowns, each photo should contribute to the overall story you want to tell.

Step 2. Choose a theme

To add a sense of cohesiveness to your photo book, consider selecting a theme that aligns with Midsommar’s atmosphere. For instance, you could opt for a nature-themed layout to reflect the lush greenery and floral decorations typical of the festival.

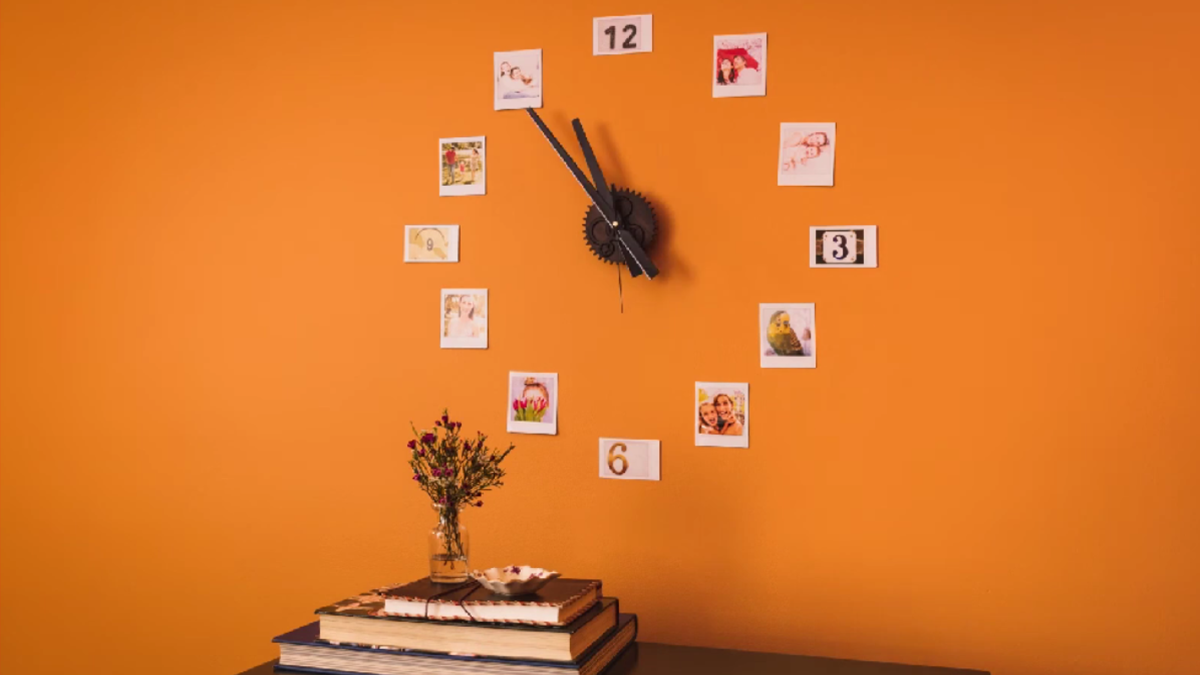
Step 3. Lay out your book

MyFUJIFILM offers user-friendly tools for creating photo books. Arrange your selected photos in a visually appealing sequence, experimenting with different layouts and designs to find the one that best compliments your chosen theme. And there you have it – your festival photos brought to life in your very own photo scrapbook.

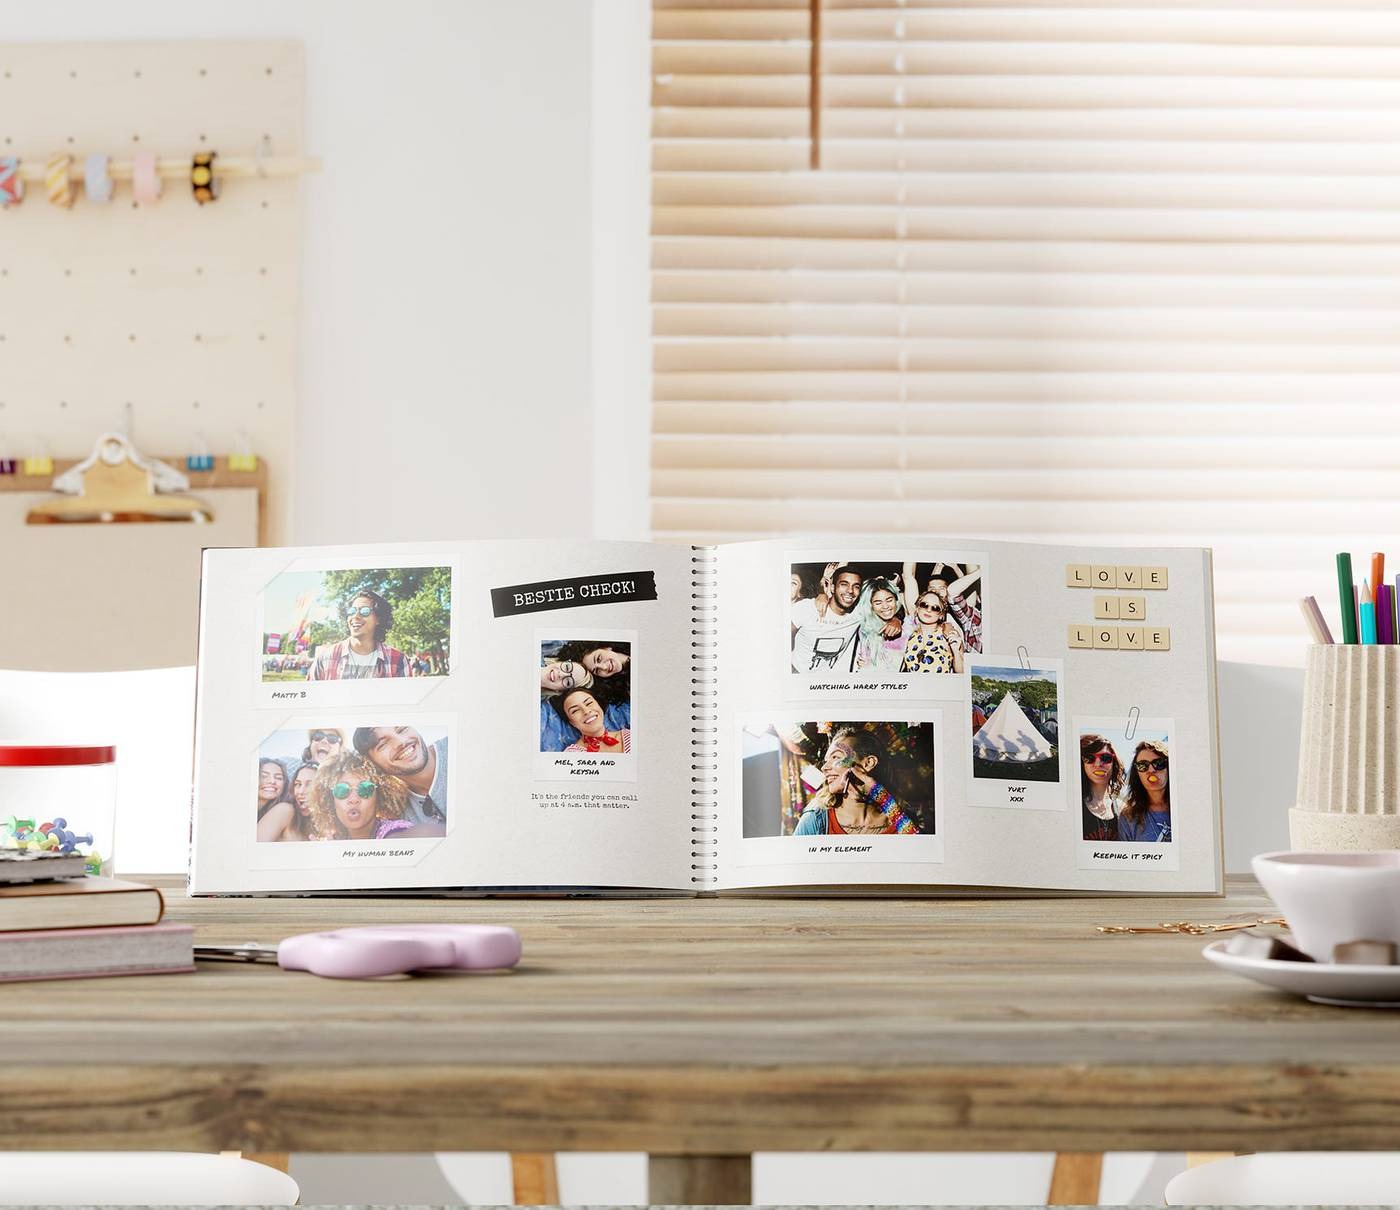
Step 4. Add captions and mementos

Personalize your photo book by adding captions that describe the precious moments captured in each photo. You can also include mementos such as pressed flowers, handwritten notes, or ticket stubs to make it even more personalised. This way, as you flip through the pages of your scrapbook, you’ll be transported back to the warmth and joy of the celebration.

Now, just you can share these memories with friends and family and celebrate the spirit of Midsommar all year round. For more inspiration, check out a blog post by our UK colleagues on MyFUJIFILM.

What is MyFUJIFILM?

MyFUJIFILM is your ultimate destination for all photo printing needs, offering high-quality prints on Fujifilm’s renowned photographic paper. Whether you’re looking to print photos, create photo books, or design personalised gifts, they have you covered. Their blog provides endless inspiration for your creative projects, operating in Germany, Sweden, the Netherlands, France, and the UK. Check it out and turn your cherished memories into beautiful prints and keepsakes!

Capture the Beauty of Cherry Blossom.

It’s March, and you obviously enjoy the beauty of cherry blossoms in full bloom all around the city. So, if just like us, you’re itching to capture this vibrance and tenderness of spring colours, here is your short photography guide on how to ensure your cherry blossom images truly blossom.

Timing is everything

From the very first pink buds to the end of full bloom, cherry blossoms show a wide range of expressions. The colour of the petals evolves from a dark shade to pale pink, eventually fading to a whitish hue as the petals fall to the ground. To capture the essence, it’s best to focus on the period between the half bloom and the full bloom. During this period, flowers are usually at their most vibrant and visually appealing stage, and the petals are fully developed.

Kiichi Noro, X-T1 | XF55-200mmF3.5-4.8 R LM OIS | F16 | 1/60 sec. | ISO 400

You can experiment with different lenses, using telephoto or macro to zoom in on intricate details of overlapping blossoms. You can also explore different angles, for example, by incorporating elements such as a blue sky, mountains, or rapeseed flowers in the background.

Best times to shoot

The morning is considered to be the best time to capture cherry blossoms. Around 9:00 am, the sunlight hits the front of the petals. This creates a stunning effect.

Hitomi Komatsu, X-T1 | XF18-55mmF2.8-4 R LM OIS | F16 | 1/15 sec. | ISO 200

For a different atmosphere and unique perspectives, shoot in the evening, during the golden hour, or even at night.

Hitomi Komatsu, X-T1 | XF50-140mmF2.8 R LM OIS WR | F2.8 | 1/2700 sec. | ISO 800

Use a tripod to stabilise your camera when shooting at night. Nighttime generally requires slower shutter speeds, wider apertures, and longer exposure times to capture enough light in the scene. This combination makes the camera more sensitive to shaky hands and unintentional movement, resulting in blurry images. The tripod prevents any camera shake, so you can have crisp and clear photos.

Chiyo Yamaguchi, X-T3 | XF56mmF1.2 R | F2.8 | 30.00 sec. | ISO 500
Hitomi Komatsu, X-T1 | XF50-140mmF2.8 R LM OIS WR | F16 | 1/14 sec. | ISO 800

Set the mood with settings

To create the desired atmosphere, play with the white balance and exposure compensation settings. For example, on a cloudy day, set the white balance to “shade” and the exposure compensation to “+” to capture a natural look. Depending on the lighting conditions, experiment with different settings to achieve warm or cool tones.

Set the wide aperture to achieve a shallow depth of field. This will make the cherry blossoms in focus while blurring the background, creating those dreamy, out-of-focus areas. To enhance the bokeh effect, experiment with the distance between your subject, cherry blossoms, and the background.

HaruQ Yamaguchi, GFX 50S | 85.0mm | F1 | 1/3800 sec. | ISO 400

Film simulation modes

To express the bright atmosphere of spring, explore different film simulation modes. By setting the mode to Vivid (Velvia), the colours and vibrancy of the cherry blossoms can be enhanced, giving you a more vibrant image.

Using Chrome Blue, you can highlight the natural vibrancy of the cherry blossoms against a blue sky. This setting makes images more visually appealing by enhancing the blues.

Get creative with advanced filters

Some Fujifilm cameras offer Adv Mode with advanced filters. Experiment with effects such as Pop Color for increased contrast and saturation, Soft Focus for a dreamy atmosphere, and Multi-Exposure for unique, layered shots.

So, here we are! With these photography tips, you’ll be ready to capture the fleeting beauty of cherry blossoms in all their glory. Take advantage of all the opportunities, whether it’s the morning sunlight illuminating delicate petals or the evening glow casting a warm hue. Now, just grab your camera and explore!

How to make a DIY Jar-o’-Lanterns with INSTAX.

It’s almost Halloween, and you’re probably itching to get creative with your home decorations. Well, here’s a spooktacular DIY design that’s so easy it’s scary! Sophiagaleria shared a great idea for a unique Halloween photo jar which you can make in no time just with your INSTAX mini Link Printer and some simple items.

What will you need?

  • a screw-top jar;
  • tangerines;
  • a black waterproof pen;
  • mini fairy lights (LED);
  • INSTAX mini Link Printer;
  • wooden sticks.

Step 1. Draw spooky faces

First, get your tangerines ready. Take your black waterproof pen and let your creativity run wild drawing funny or scary Halloween faces on the tangerines. It may be classic jack-o’-lanterns, sinister smiles, or even spooky ghosts. Feel free to experiment!

Read More

Zooming in on Wildlife: GFX100 II Test-Drive with Shelley Pearson

Bird photography is a delicate art that requires patience, precision, and a dash of wonder. Each bird presents a unique challenge. You learn to anticipate their moves, study their habits and habitats, becoming a part of their world. Every click of your camera is a hunt for a perfect moment, and your lens must be incredibly accurate and responsive to capture the elegance of a hummingbird’s glance or the wild spirit of an eagle’s flight. It’s about capturing life in its tiniest and the grandest. 

Based in Australia’s west coast, a professional bird and wildlife photographer Shelley Pearson tried the new GFX100 II camera paired with the Fujifilm GF 250mm F4 LM OIS WR prime lens and the Fujifilm teleconverter GF 1.4X TC WR in the field.

Read More

Celebrate Moments with your Instax Photo Wall Clock

Memory is transformative. It has an enigmatic power of bringing people to other places and times. Pull a string – and you’re in your grandma’s kitchen, biting that very first tender crust of her plum pie, catching sun rays jumping on the table. Pull one more – here’s your toddler with its very first self-made all-in-one breakfast, smiling at a complete mess left behind. The first touch of a loved one’s hand, that special trip you went to with your dad… Each moment is so precious, so why not celebrate it?

With INSTAX, it’s easy! Let us show you how to transform an ordinary wall clock into a personal time machine with your favourite INSTAX photos.

Read More

How To: 3 Ideas for Capturing the Beauty of Spring

Spring is a wonderful time of year for photography, as nature comes back to life and offers us a wealth of colors and subjects. Here are three ideas for perfect spring photos and the right camera settings for the Fujifilm X-T4.

Capture blossoms

In spring, many trees and shrubs are in full bloom, providing a great opportunity for colorful and beautiful photos. To capture the beauty of the blossoms, it is recommended to use a large aperture to achieve a shallow depth of field and highlight the main subject. The Fujifilm X-T4 offers a maximum aperture of f/1.2, which is ideal for this type of photo.

Camera settings for flower photography:

  • Aperture: f/1.2 – f/2.8
  • ISO: 100 – 400
  • Shutter speed: Depending on the brightness of the day and movement of the subject, between 1/60 – 1/200 seconds.
  • Focus: Set the focus on the main subject to bring it into sharp focus, and use the bokeh effect for an attractive background blur.
Capture landscapes in full bloom

Spring is also a great time to take landscape photos to capture the beauty of nature. When photographing a wide landscape with flowering trees or fields, it is recommended to use a small aperture to achieve a greater depth of field and capture more details in the landscape.

The Fujifilm X-T4 offers a maximum aperture of f/16, which is ideal for these types of photos.Spring is also a great time to take landscape photos to capture the beauty of nature. When photographing a wide landscape with flowering trees or fields, it is recommended to use a small aperture to achieve a greater depth of field and capture more details in the landscape. The Fujifilm X-T4 offers a maximum aperture of f/16, which is ideal for these types of photos.

Camera settings for landscape photography:

  • Aperture: f/11 – f/16
  • ISO: 100 – 400
  • Shutter speed: Depending on the brightness of the day, between 1/125 – 1/500 seconds
  • Focus: Use manual focus to focus on the main subject, or autofocus to focus on the landscape. Also use hyperfocal distance to achieve a greater depth of field.

Macro shots of flowers and insects

In spring, there are many insects and flowers that provide an excellent opportunity for macro shots. For such shots, it is advisable to use a high depth of field to bring the subject into focus and capture details. The Fujifilm X-T4 offers a maximum magnification of 0.5x, which is ideal for these types of photos.

Camera settings for macrophotography:

  • Aperture: f/8 – f/16
  • ISO: 200 – 800
  • Shutter speed: Depending on the brightness of the day, between 1/125 – 1/500 seconds
  • Focus: Use manual focus or autofocus with spot metering to focus on the main subject. Also use focus peaking mode to check the focus point and make sure the subject is in focus.

Additional tips for perfect spring photos:

  • Use the natural light of the day for natural and soft lighting in your photos. Avoid direct sunlight or strong shadows, which can affect colors or overexpose the subject.
  • Experiment with different perspectives to capture the subject from different angles and create interesting compositions.
  • Use RAW mode to have more flexibility in post-processing your photos.
  • Also use the Fujifilm X-T4’s Film Simulation mode to create different color effects and moods in your photos.

With these tips and camera settings, you can take beautiful and perfect photos with your Fujifilm X-T4 this spring. Have fun with your photography!