

 There are many times that using a wide angle or telephoto lens just won’t get the results you want. They’re either too wide or too tight but you know in your heart that your viewpoint is correct.
It’s frustrating and causes many photographers to give up and go home without a shot they’re happy with. However you should persevere and with the introduction of photo-stitching software built into Lightroom and Photoshop you should try the third option which is to shoot a stitched panorama.
By stitching together individual images you can render your scene in greater detail and make extremely large prints without the image breaking up.
For those who want a bit of background early examples of a panorama include the Bayeux Tapestry, at nearly 70 meters in length it’ll take some stitching to get a photograph that will rival that!
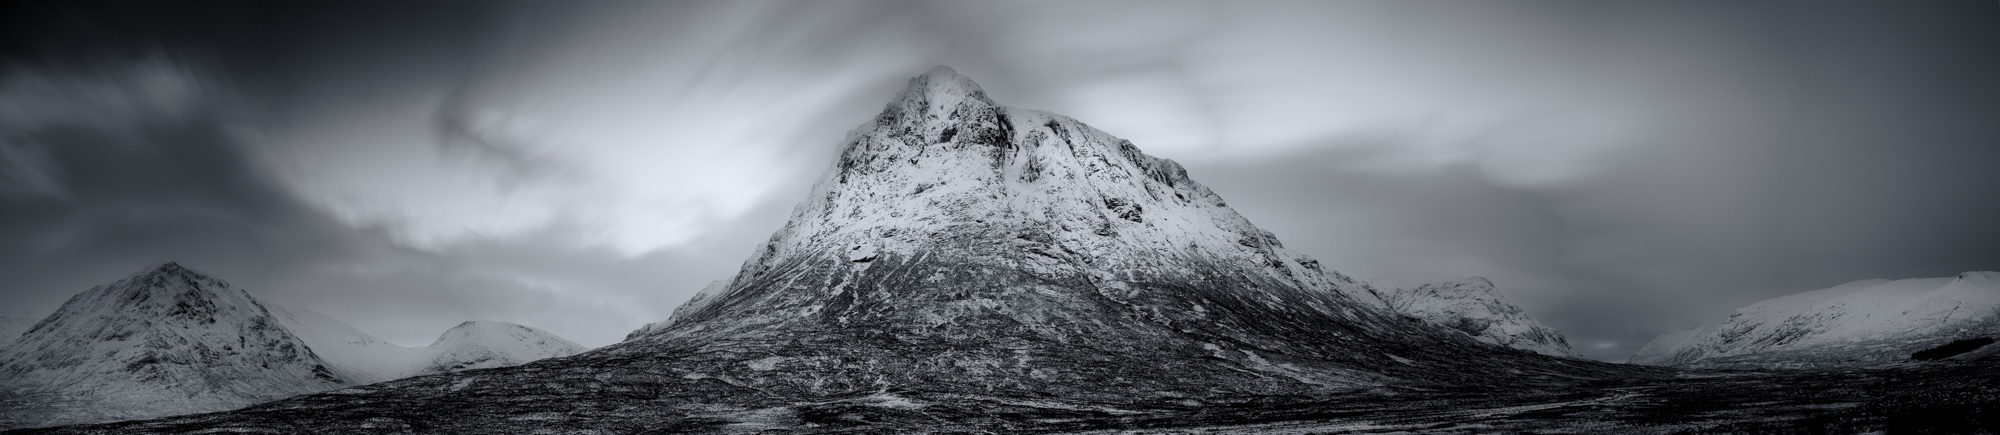
I’ve shot panoramas for a number of years and find the discipline fascinating. The normal guidelines of composition do apply, but they also don’t – you have much more area for the viewer to explore, more details being captured and there can be cameo roles for people in the different areas of the image. These all come together to create a story or feeling that literally absorbs the viewer – well that’s the idea anyway!
To shoot your very own panoramic image:
Firstly, if you can – use a tripod
It’ll make stitching the images together far more straightforward. Make sure your tripod is level too – most come with a spirit level but luckily most of the Fuji X series have horizon levels built in. If you press the display/back button on the back of the camera a few times this normally brings it up on screen if it has one. To check that the camera and tripod are level, gently pan the camera from left to right and check the display to see if the level line is straight throughout the motion. When attaching the camera to the tripod – set it so that you are shooting a series of upright images (portrait orientation). You’d be forgiven for thinking that you should shoot three or four landscape images – although you can if you wish, but you will end up with a very strip like image. I have found the upright method to be far more rewarding.

Your focal length is generally a little longer than when shooting conventional landscape images.
For example, I recently shot a panorama in Paris using the XF50-140mm, to get the same result normally I’d have needed to use a XF10-24, but the detail in the bridge and the compression of perspective would have been lost.
In a perfect world you would use a panoramic tripod head and set the nodal point of the lens.
Basically this means the middle of the lens sits over the middle of the tripod – but with good stitching software you can get away without it being set, if you’re careful. The reason for this is that if you have the nodal point set correctly the perspective doesn’t alter as you rotate the camera, but when the lens is off-centre perspective from the lens to the subject distorts ever-so slightly.
Once you have chosen your composition and have panned the camera backwards and forwards a few times to check your image works, you must set your focus and exposure. Once set, do not alter them, otherwise you get very awkward tonal changes between the different images. The same applies to graduated filters – although you can adjust them slightly.
Finally you are ready to shoot!
Start on the left-hand side of your shot and take your first picture. Then turn the camera using a panning motion through about 15 degrees, or using the framing grid on the screen – move it round by 1/3 of the frame – this will give you enough overlap to avoid the distortion caused by turning your camera. Repeat this shooting process until you have completed your full composition.

Once have finished your series – shoot a blank frame so you know where the start and finish is.
You may need to fine tune your shot so always check the image on the back of the camera to make sure you’ve got every aspect of the shot you need.
When you get home the process is very simple.
Load your images into Adobe Lightroom – highlight the pictures that make up your panorama – take your cursor across the top menu bar to the heading ‘Photo’ then scroll down to ‘Photomerge’ and select ‘Panorama’. Lightroom will show you a rough render of the image then simply press OK and a few seconds later you’ll get the stunning panorama you planned.
Occasionally Lightroom doesn’t quite do the job, so if that happens – open the images in Photoshop, use your cursor to navigate through File – Automate – Photomerge – Panorama – the same process will happen only this time you will have a layered Photoshop document to work with.
It will take a little practice to create the perfect image but it’s great fun to try. For more inspiration look at the work of Horst Hamann or Nick Meers