Be Inspired

A collection of inspirational blog posts that will give you some great new ideas and cause you to pick up your camera and go out shooting

X-Photographer’s Spotlight – Chris Upton

Tell us about yourself and what got you into photography? How did you develop your style in photography?

20150718_chris_0042I am a photographer based in Nottinghamshire, UK with a passion for Travel, Landscape and Social Documentary photography.

My love of photography started in my teens when I used the camera to record walking and climbing trips around the UK but especially in the Peak District and Lake District. As my knowledge developed and results improved, the emphasis changed from less walking to more photography. In those days I was shooting 35mm slide film and enjoyed processing my own black & white prints in my darkroom at home. As with many other photographers the shift to digital helped to improve my photography and it’s certainly more comfortable processing images in the digital whiteroom!

Over the years I have been fortunate to travel widely and consequently this has become my favourite genre of photography. I find it an amazing experience to observe and photograph a variety of cultures, people and landscapes, and hope that through my photographs I can bring a little of this to the viewer and inspire others to experience the beauty and diversity of the world for themselves.

20150817_derbys_0072-HDR-Edit

Why did you choose Fujifilm cameras?

Having used a DSLR system since their launch I had always hankered after a small rangefinder style camera that I felt would offer more freedom and enjoyment in my photography. When the Fuji X-E1 was launched I bought one straight away thinking it would complement my DSLR and would be a great walk around camera. As soon as I got the camera I was smitten. It was so lovely to use, it felt just right, it was intuitive and it made me want to take pictures. The only area where I needed reassurance was image quality, could an APSC sensor really match my full frame DSLR? Well I should have had no concerns. The combination of camera and stunning Fujifilm XF lenses delivered superb results and there was a further revelation, jpegs! I hadn’t shot jpegs for a long time but when I saw the results I was amazed. They were sharp, the colour rendition was spot on and the overall feel of the image was beautiful, almost film like in their appearance. I bought a couple more lenses, the XF10-24 and the XF55-200 and the brilliant Fuji X-T1, and this opened up more creative opportunities. I started to use the Fuji kit more and more, no longer was it a back up to the big, heavy DSLR. It had earned its stripes and I loved the combination of a smaller, lighter, robust system that was so intuitive and simply a joy to use. Today the DSLR system sits in the cupboard waiting for the inevitable ebay listing as the Fuji accompanies me everywhere at home and abroad.

20140428_untitled_0206

What & who inspires you?

I love great pictures whatever the subject matter and as a travel photographer you have to be pretty adept at different genres as you will be shooting architecture, people, landscape, detail, street and many other subjects in the quest to capture the spirit of the place. Therefore I have many sources of inspiration. I marvel at the landscape work of Charlie Waite who seems to capture scenes at their absolute best with sublime composition and feeling. David Noton, Elia Locardi, Ric Sammon and Steve McCurry are among my favourite travel photographers and Art Wolfe’s images combine the best of nature and travel with fine art. Sebastio Salgado has to be there for his amazing documentary and people pictures. I just think it’s important to open your eyes to the world out there and draw inspiration from as many sources as possible.

20150925_france_1522v1

Do you have any tips or tricks you could share with us?

Without doubt the number one priority with Travel photography is planning. We don’t have unlimited time or budget when travelling so we have to make use of every moment. That means understanding key locations, viewpoints, weather conditions, sunrise & sunset times and direction and any local factors such as opening & closing times. The internet is an invaluable resource for this and I will check out tourism websites, Google images, flickr and 500px. You will find some stunning images of your locations that you should use as a starting point. Of course you will want to shoot the iconic views of famous locations but when you have those in the bag look for something different, put your stamp on the place. You will be surprised that it’s so often those images that give you the most satisfaction.

20150427_lancs_0100

The majority of my images are taken using a tripod. Now whilst some photographers regard a tripod as an unnecessary evil there are many good reasons to use a tripod other than just avoiding camera shake. Sure there are times when I shoot handheld but using a tripod slows you down and makes you think more carefully about your subject, enabling more precise composition. It also helps makes the use of gradual neutral density filters easier with more accurate positioning.  Creative opportunities are also opened up by using longer shutter speeds in daylight, including the use of ND filters, to capture movement. But of course it’s the ability to capture the best light of the day at sunrise and sunset that make the tripod an invaluable part of any travel photographers kit.

20150906_slovenia_0078-Edit

I love photographing people, but for many the prospect of approaching a stranger and asking to take their picture is a real challenge and that’s why some take the easier route of a long lens grab shot. Whilst there is certainly a place for the candid approach I have found that taking pictures with permission yields far better results. So I would urge you to pluck up the courage and try to make that connection with your subject. I always try and learn a few words in the local language which, even if I get wrong, usually results in smiles and breaks the ice, creating a perfect start for your people photography. Check your equipment before you approach your subject including lens selection, aperture, battery life and frames remaining on your memory card. Also once you have permission don’t just take one shot and move on. Shoot a few images, move around and work with your subject. Resist the temptation to keep chimping your screen but use it to show your subject the results, this works really well with children and of course thank the person when you’ve finished.

20150310_cuba_5049-Edit-2

What’s next for you?

I have just completed a major Social Documentary project on the closure of Thoresby Colliery, the last pit in Nottinghamshire. Being such a significant event in the county’s industrial and social history I was keen to produce an enduring record of the colliery and to share the images with as wide an audience as possible. So I am delighted to have produced a major touring exhibition which opens in Mansfield, Nottinghamshire and runs until 27th February and have also published a book, “Thoresby The End Of The Mine”. Full details of both can be found on my website www.chrisuptonphotography.com  So in the short term I am busy publicising and promoting but I am also looking forward to a few trips abroad including Venice, India and Andalucia.

Thoresby Colliery
Thoresby Colliery
Thoresby Colliery
Thoresby Colliery

Contact info

Website 

Twitter

Facebook

Instagram


Using white balance to take better photos

white balance

w360_6415757_tutorialbannerfordotmailerWhite Balance is a term that may seem foreign to most photographers. Especially as a setting that you could adjust that would make a drastic impact on your photos.

If you ever have taken a photo inside with fluorescent lights as your main source of lighting, you may notice a slight “bluish” look to your photos.

Why did this happen? All light sources have different colour tones based on a temperature reading scale ranging from red (warm) to blue (cold) known as Kelvin (K).

2

Your choice of lighting will impact the overall look of your image and the actual colours shown in your photo. A photo mainly lit with a candle will give off a slightly deep orange colour tone. Likewise a photo mainly lit by fluorescent lights will give off a light bluish colour tone. Usually undetectable by the naked eye, we only really notice the difference when we look and compare photos side by side.

3

The term ‘White balance’ (WB) is the process of removing unnatural colour tones in photos. All FUJIFILM Digital cameras have ‘White Balance’ controls to help change or correct these colour tones.

Why would a photographer need to change the camera’s white balance setting? Depending on the subject and lighting source used, a photographer can adjust the camera’s white balance setting to properly show colours as the naked eye sees them or to change the “mood” of a particular photo.


So why experiment with white balance?

You may find that the Auto White Balance setting corrects colour tones when you don’t want it to. This can happen with sunsets or landscapes, where the colour of the light is an integral part of the picture. By using one of the preset settings, you can better control the colour tone of your  photos based on the light source used. In addition to one of these “preset” settings, most FUJIFILM cameras offer the ability to pick a custom white balance setting also known as colour temperature (measured in Kelvin).

Here are some of the most commonly found and used white balance settings in Fujifilm cameras:

Auto – this is where the camera takes continuous readings of the light sources and makes adjustments automatically to the colour tone of the photo.

Daylight/Sunny/Fine – not all cameras have this setting because it sets things as fairly ‘normal’ white balance settings.

Tungsten/Incandescent– this mode is usually symbolized with a little bulb and is for shooting indoors when traditional incandescent lighting is used. It generally cools down the colors in photos.

Fluorescent – this compensates for the ‘cool’ light of fluorescent light and will warm up your shots.

Shade – the light in shade is generally cooler (bluer) than shooting in direct sunlight so this mode will warm things up a little.

Colour Temperature – This option allows you to select the colour temperature using the measurement known as Kelvin, this gives you even more creative control. And without getting too technical here’s our handy hint: If your photos are coming out yellow/orange turn the temperature down (lower number value, for example 2500K) and if they are a bluish colour tone, turn the temperature up (higher number value, for example 8300K). You will soon pick up what lighting environments are around which value of Kelvin.

The other option you have is to shoot in RAW, select Auto White Balance and adjust later in post processing. This does give you more flexibility after the shoot but will add more time to your processing, plus a bit more technical know-how to get best results.

As you can see above the white balance chosen for a shot can make a huge difference to the feel of an image and in some cases what season the image was taken in.

We hope you have found this tutorial helpful and that it will get you out and about experimenting with white balance.

And as an added bonus, check out FujiGuy Billy as he shows you how to get your White Balance settings up and running in camera here.

https://www.youtube.com/watch?v=5AXsq3bksUo&feature=youtu.be


Lightweight landscape photography with a reportage head

_DSF0091

By CAMILLE MCMILLAN

Epic mountains.
Granite walls clung to by a finger…
Night sleeping in a hammock hung by Carabiners on a vertical 500m drops.
Scaling a waterfall turned to ice in -10 conditions, Ice axes, crampons.
The north face of the Eiger.
Base jumping.
No, no thanks, not for me…

I live in and love the mountains, the French Pyrenees. I am very happy to climb , walk and explore, but when the need for Carabiners and ropes happen, that’s when I take another route. I’m not an Alpinist, this makes me a lightweight, and as I’m a lightweight I wish to carry lightweight kit. No “Landscape photographers bad back” for me.

_DSF2980

Recently I took a trip to the other side of France, the Alpes-Maritimes, tracing the old border of France and Italy. A border that shifted with the end of WW2. The old border line in the Alpes-Maritimes are on ridges, peaks or cols, sometimes on the road, but mostly the car can only get you so far, then its hiking.

I approach landscape photography with a reportage head. I am not the kind of photographer that has the patients or time to hang around at a location, ponder, wait for the light, pause for dusk or sleep out all night for dawn. Maybe I’m not a proper landscape photographer, maybe I just lack the patience, I am however very much interested in narrative, the Journey.

_DSF4794

When on my journey, I see something, I stop and take a picture and move on. Hopefully the light is good on the subject at that moment. I’m much more about the story. That’s where the X100T is so good. I see the work I’m doing now as a journal, making notes. Maybe some day I could return with more equipment (a tripod ) maybe even camp out the night , but only with light kit, keeping the no humping kit bad back rule.

I shoot jpegs now (I spoke about in my last entry) and I’m right back to my early E6 (transparency film) days, I bracket. A few years ago I would have scoffed at the idea of bracketing and would have been horrified that I am shooting jpegs.

The f-stop bracketing with the X100T is great, 1/3rd of a stop work really well. This is not ‘in camera ‘ processing for a bracket, its a true 3 exposure event. I struggled with this at first as I would start to move looking for the next picture before the 3rd shot had fired. I am learning to be patient.

For me its important to know which in film simulation to use and not just shoot with the very seductive Classic Crome or the old school landscape photographers favourite Velvia (Even if you can shoot it at 800 ASA !) You can bracket film simulation modes with the X100T, and it is a one exposure event. Film simulation bracketing is a very good learning tool on how the different film simulations will look in different lights, however you can not Film simulation bracket and f-stop bracket at the same time. In my opinion, the characteristics of the film stock very much influences how the story is read. I make the decision which film simulation to use on a project and keep it that way. Sometimes the film simulation I have chosen is not the best for the light in a situation, but I feel the continuity of the colour and tonal range is of an over riding importance. Okay, you can call me old school.

_DSF0094

I’m not the photographer that enjoys the capture one / light-room / photoshop part of photography. I just want to get the image correct in camera and then print it. The dream is to send it to the printer from in the field…

I should however invest in an ND grad filter, Seven 5 by Lee filter probably and the WCL-X100 wide conversion lens, a pro ipad and a carbon tripod.

I’m searching for perfection in camera and escape the tyranny of post production.


See more of Camille’s work

Follow Camille McMillan on Twitter


Learn more and buy now

Click here to find retailers selling the Fujifilm X100T

eBook: Get in the loop – how to make great music images

cover

By Flemming Bo Jensen

I am in it for the music. I am a photographer, but first and foremost I am a dedicated fan of
music, particularly the electronic genre. Photographing music is how I find belonging in its
magical world.

1

When I look at the work of other music photographers, I often don’t see the passion for
music, nor “hear” it in their images. I hope to help change that with this e-book.

I shoot electronic music exclusively, which means all my experience comes from this type of
event. I believe a good part of this ebook will be applicable to any kind of music or event
shooting, but there are also things in here which are specific to the electronic music scene.

3
In this book I talk about how to get started, preparations, what’s in my bag and of course,
how I shoot events. This book features many examples of my images with analyses of how I
made them, anecdotes from the shoot, and the gear and settings used. I assume readers are
familiar with technical terms such as exposure, ISO, aperture, exposure value (EV), and how
to adjust these settings.

I have made the transition from making pictures for myself, to shooting paid gigs in
Denmark, very quickly. I have learnt an enormous amount in that time, and I hope to pass
this on, and inspire you to make better music pictures.

2

I am lucky enough to get to shoot the events I would go to as a regular fan. And I hope my
passion can inspire your music photography. You have to love it all: the music, the artists, the
people, the long nights, the loudness, the chaos, the photography.

Channel that love into your images.


How to buy this eBook

The eBook comes as a 220-page PDF and can be purchased and instantly downloaded from Flemming’s website below:

http://flemmingbojensen.com/ebook/

8 shots with the Fuji X-T10 & XF27mm pancake lens

By Kevin Mullins

Last week I purchased a Fuji X-T10 as I wanted something a little smaller than the X-T1, but with interchangeable lens options, for my street photography.

Although the camera has been out for a while, I’d never actually used one until my one arrived. But as soon as I got the camera I immediately knew it was going to become my 27mm pancake lens camera option.

The 27mm is a lens I love to bits.  It’s also a lens I’ve lost twice and I’m now on my third XF27mm lens and I suppose it’s a testament to just how small this lens is that I keep losing them!

I won’t be using the X-T10 as a wedding camera; for me, it’s not quite at the level I need for me to be comfortable shooting weddings with it.

However, it will likely be one of my backup cameras for weddings and it will definitely be a camera I take on my street photography trips out.

It really is a very discreet camera.  Couple it with something like the 27mm lens and you can really just blend in and behave like anybody else with a small point & shoot camera.

These are just a few processed snaps from a day I spent in Southampton running one of my street photography workshops.

“I’m a huge fan of the 27mm lens and I think I’ve found the perfect compliment for it in the X-T10.”

I’ve recently been using a prototype of the new Camslinger Streetomatic which is an upgrade to the version I’ve been quite comfortable with for a while.  The new bag is PERFECT for street photography. The clasp is better and yet it’s still possible to quickly remove the camera with one hand and start shooting.  I used it with the X-T10 and 27mm lens.  I had plenty of room for two spare lenses, my wallet, phone and notebook etc.

1
Fuji X-T10 / XF27mm 1/4,000 f/5.6 ISO 200
2
Fuji X-T10 / XF27mm 1/1,700 f/7.1 ISO 400
Fuji X-T10 / XF27mm 1/1,800 f/7.1 ISO 200
Fuji X-T10 / XF27mm 1/350 f/8 ISO 400
Fuji X-T10 / XF27mm 1/420 f/10 ISO 200
Fuji X-T10 / XF27mm 1/4,000 f/2.8 ISO 200
7
Fuji X-T10 / XF27mm 1/4,000 f/2.8 ISO 200
Fuji X-T10 / XF27mm 1/150 f/3.6 ISO 200

About Kevin

KevinMullins-Headshot-200x200Kevin Mullins is a Wiltshire-based award winning wedding photographer who specialises in telling stories, through pictures, of weddings. The style of wedding photography he uses is known as documentary wedding photography, or reportage wedding photography and he is passionate about photographing weddings authentically, sympathetically and responsibly.

Visit Kevin’s website for more inspirational and educational posts


Why I love: the Fujinon XF56mmF1.2 lens

Our X-Photographer “Why I love” XF lens series continues with our super sharp, super fast aperture prime lens, the FUJINON XF56mm F1.2 R.

Kevin Mullins – Reportage Weddings

quote-left
Most wedding photographers want to be able to separate their subjects from the background at some point during the day and the amazingly fast 1.2 aperture of the 56mm (85mm full frame equivalent) allows me to do that. Even when I’m shooting fast moving subjects, such as a confetti throw, I will sometimes want to offer a luscious depth of field and there is no other lens that offers that f1.2 aperture that allows me to do that right now. This lens, along with the 23mm lenses are my goto lenses for every single wedding I shoot.quote-right

Click here to see more of Kevin’s work


 Derek Clark – Portraits

quote-left
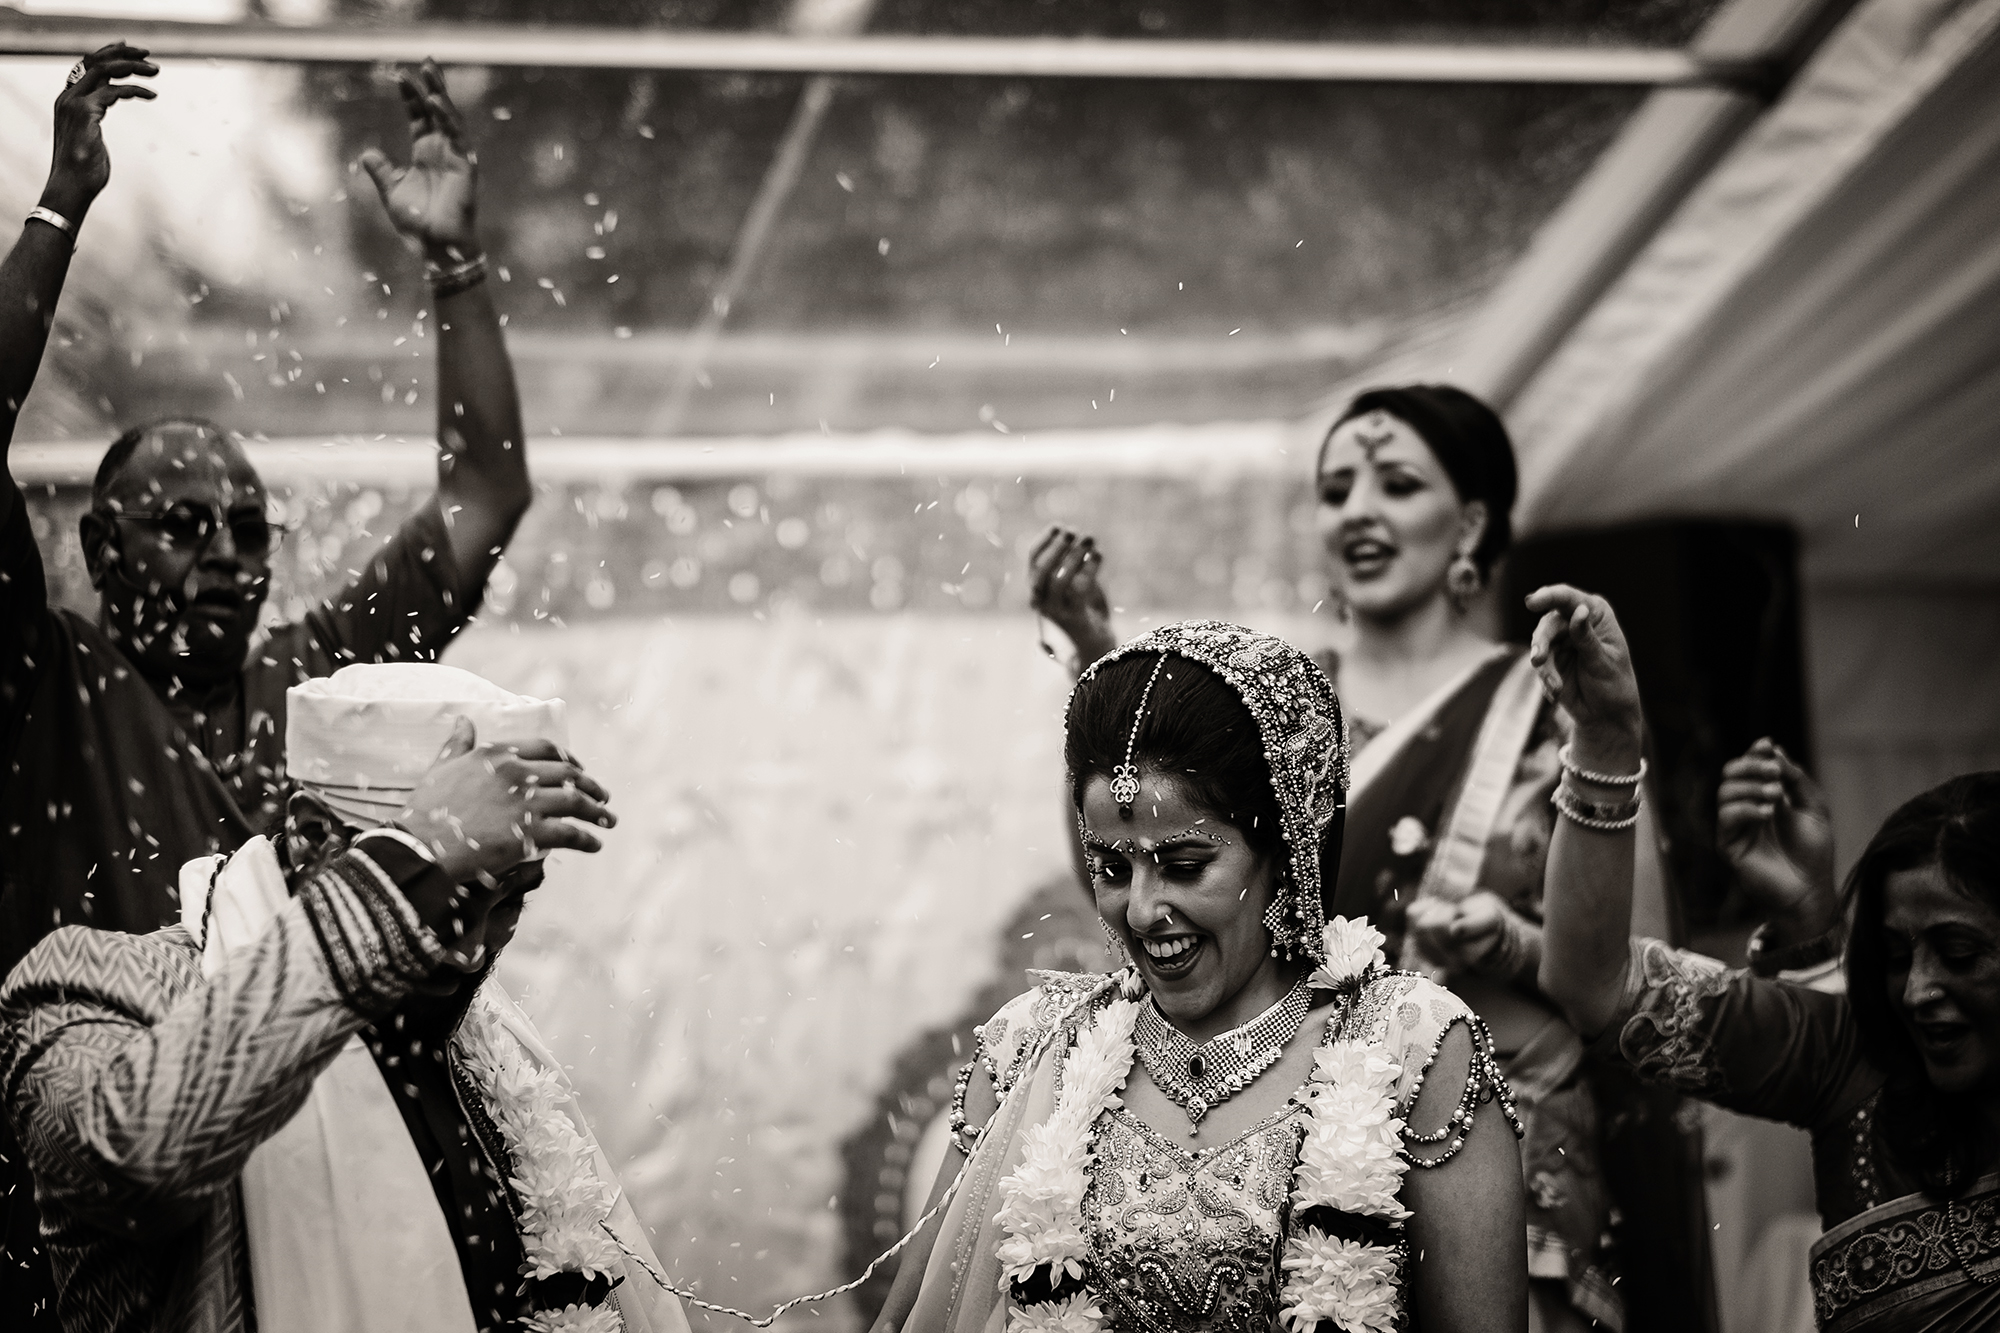
The super fast aperture of f1.2 and the full frame equivalent of 85mm make this lens an essential part of my kit. It doesn’t matter if I’m shooting a documentary wedding, a jazz artist in a dimly lit room or a well lit portrait, the 56mm lens has a unique look and produces some of the best shallow depth of field creaminess of any lens I’ve ever used. Like all the Fuji XF lenses, the 56mm is also razor sharp and it beats the best of the high end 85mm lenses from the other big manufacturers. I haven’t tried the 90mm f2 yet, but it looks like that too will be an amazing portrait lens.quote-right

Click here to see more of Derek’s work


Ben Cherry – Environmental Photojournalism

quote-left
Many photographers came to the X-Series because of this lens. Offering F1.2 at 85mm equiv. focal length in a compact package that happens to be one of the fastest focusing lenses in the range… The F1.2 effect has so many benefits, from striking portraits to being invaluable in low light conditions. The later is particularly helpful for me. In tropical rainforests you don’t often see wildlife from a far but instead stumble across it. Here the F1.2 helped to capture this baby elephant dozing, ISO1600 F1.2 1/120sec. If this were with a F2.8 lens I would have been shooting at 1/30sec, risking motion blur as I tried to contain my excitement.quote-right

Click here to see more of Ben’s work


Paul Sanders – Landscape

quote-left
The 56mm F1.2 is my most used lens, it’s almost always the first lens I reach for on every shoot. I love the narrow depth of field and the super fast focusing. As a landscape photographer people are surprised when I say that I often shoot with the lens quite wide open, but for my style of long exposures where I’m trying to create a sense of infinite space the wide aperture looses the background nicely obscuring details I don’t need in the image. quote-right

Click here to see more of Paul’s work


Lens_56mm_Black_FrontClick to see retailers selling the XF56mm lens