
For my travel photography, I now work entirely with the X-system. I like the fact that it’s lighter, smaller and manages to look great yet unobtrusive and produce great looking images at the same time. I love the direct feedback of the manual controls, dials and aperture rings. I use two X-T1’s, a X100s and a slew of Fujifilm lenses. One of the advantages of using a smaller and lighter system is that it frees up some space (and weight) in your camera bag for other accessories that can help you create better shots. In this two-part series, I’ll have a look at my top-ten favorite accessories for Fujifilm cameras – from a travelling point of view. Here are my first 1 – 5 accessories.
1 – Flash and modifier
I love using flash while traveling. In fact, I wrote two eBooks on the subject: Making Light 1 and Making Light 2, available on http://www.craftandvision.com. Generally, I like to use my flash off-camera, but on those rare occasions where I use it on-camera, I will often bounce it to my side or my back in order to diffuse the light as much as I can. When I’m moving around and bouncing an on-camera flash, I prefer to work in TTL because the flash-to-subject distance (and hence the required flash output) varies continuously. TTL will automatically calculate and adjust that power for me. For those instances, Fujifilm’s own EF-42 flash is just perfect because it’s fairly powerful and it has TTL.
When I use the flash off-camera however, I prefer to work in manual mode but I do like the ability to wirelessly trigger my remote flash and set its power. For off-camera use, I really like the Godox V850 flashes: they’re powerful, affordable, built like a tank and thanks to the optional radio FT-16s triggering system, I can change the power remotely. But best of all, the V850 is powered by a rechargeable Li-ion battery that lasts up to 600 full power flashes. No more fussing around with AA batteries! One of the few dislikes I have about the Godox flashes is that the receiver comes off way too easily. Therefore, I’ve stuck some Velcro and gaffer tape to it.

For the 2015 Rajasthan Photo Workshop (a 2 week workshop in India hosted by fellow X-Photographer Matt Brandon and myself which attracts a lot of Fujifilm shooters and for which at the time of writing were only 2 spots left), I have my eyes set on another, bigger flash: the HD600 II, a 600 Ws (that’s about the lighting power equivalent of 6 to 10 small hotshoe flashes) portable system by Jinbei.

Now if you go through the trouble of bringing a flash, there’s one accessory that’s almost as important as the flash itself, and that’s something to diffuse it: by itself, a flash is a very small light source and therefore it will create harsh shadows. That’s where modifiers like softboxes and umbrellas kick in: they increase the size of the light source (at the expense of some flash power) and throw softer shadows, especially if you use them close enough to your subject. Although I generally prefer the increased control that softboxes offer, while I’m travelling I have three big constraints: my modifier must be easy to set up, light enough to carry and small enough to put into my camera bag. That’s why I love the Lastolite Trifold umbrellas. As a bonus, they’re cheap, too. A flash and umbrella add some 800 grams to your camera kit, but they also add a wealth of opportunities.


When I’m not using my Brian tripod (see tip #3) to hold the flash for me, I’ll either handhold it myself (a lot easier to do when you have to hold less than one kilogram of camera equipment in your other hand) or have someone hold it for me.
I use flash mainly to increase the quality of my light, rather than the quantity. That’s why the sunnier my destination, the more likely I am to bring a flash with me!

2 – Camera bags
Ah. Camera bags. If only the perfect camera bag existed. The be-all-end-all camera bag. But I haven’t found The One yet. Instead, I pick one depending on my shooting plans for the day. So I want to give you my top-three of camera bags.
The Vanguard Heralder 38

I love this bag for its versatility: it can hold a lot of gear (in fact, it can probably hold all of the other accessories in this top-10) and has a separate laptop compartment. It has a big zipper at the top for quick access and the bright orange interior is more than a fashion whim: it makes your mostly black camera gear easier to find. Now, there are a gazillion other bags that are similar to this one (including a couple of smaller editions of the Heralder), but what the Heralder 38 has that few others have is a secret latch that can hold my tripod (see tip 3). The only downside is that, compared to the stylishness of my Fujis, it just pales.
Think Tank Speedracer

Although the Fujis themselves are light enough and a lot lighter than my fullframe DSLRs and lenses are, when you add enough lenses, accessories, flashes and a tripod to the mix, the weight can start to add up again. A bag that only hangs from your shoulder can become hard to carry all day. And I don’t like backpacks. I find them good to transport gear from A to B, but not to walk around in A or B. So, if I want to go easy on my back, I use the Think Tank Speed Racer. This bag has a shoulder belt but also a waist belt that you can tuck away if you don’t need it. The waist belt helps to divide the weight between your shoulder and your waist and lets you attach extra modular pouches to it. It’s a great system and my partner-in-crime on the Rajasthan workshops Matt Brandon (www.thedigitaltrekker.com) uses the smaller Speed Freak much the same way. I just wished they looked better. The bags, not Matt Brandon. He looks fine. For his age, at least J.
Ona Astoria

So, this brings me to the last in this round-up. When style does matter, the classical black nylon camera bags just won’t cut it. In those cases I turn to the Ona Astoria. This mixed canvas and leather bag holds a laptop, two bodies, a couple of lenses and even a flash. It’s not the cheapest bag in this overview nor is it the biggest or the most practical, but it makes up for all of that by its stunning looks. Visually, it is a perfect match for my Fujis. In fact, the bag looks so good that putting a regular DSLR in it would be a crime! In the same league, I recently discovered the Roamographer by Holdfast Gear. This leather bag opens like a doctor’s bag and also has a strap for a tripod. The only thing holding me back is forking out another $500 on a bag and the fact that it weighs almost 6 pounds. Empty.
3 – Tripod

The smart way to go about the weight savings that switching to a mirrorless system offers, is to pass those savings on to your back: it will thank you later. However, I decided to ‘reinvest’ some of those economies into more gear that would allow me to do things that I previously could not do. One of those extra items I now bring with me a lot more than when I was lugging DSLRs is a tripod. I use the Brian, by British manufacturer Three Legged Thing. I specifically chose this model because it’s the only one I know that extends to over 2 meters. Not that I’d want to put a camera that high, but I’ll often use my tripod as a makeshift light stand as well.

At GBP 359, it’s not the cheapest tripod around, but if I’ve learnt one thing, it’s that with tripods cheaper often means compromising, which in turn makes me leave it at home. My first tripod only cost me $100. But it was big, bulky and didn’t extend high enough for what I wanted. As a consequence, I’ve used it twice and now it’s collecting dust. So it cost me $50 per shoot. My Brian’s only one year old and it’s already averaging a lot better than that!
Although 1.2 kilograms is very light for a tripod as versatile as the Brian, sometimes even that is too much to carry. In those cases, I’ll almost invariably bring an alternative solution: the Joby Gorillapod. It exists in a heavy and quite bulky DSLR version, but for my Fujis, I chose the much more convenient (and affordable) Hybrid version. That’s just one more advantage of a smaller and lighter system like the X-system: not only your camera and lenses are smaller: your accessories (like filters, or in this case tripods) can be lighter and often cheaper, too.

4 – Filters
I use Formatt Hitech’s graduated filters when I need to balance out a sky and foreground beyond what Lightroom’s Highlights and Shadows recovery can do. Alternatively, I might make a series of bracketed shots and merge them into an HDR. I’ve recently started to experiment with long exposure photography.

For my long exposure photography, I use the Formatt Hitech ProStop 10 stops IRND filter – I like that it’s relatively neutral compared to other brands – and I can’t wait to use their new Firecrest 16 stop ND filter. That’s 16 stops of Neutral Density in one filter! No need to stack multiple filters and run the risk of vignetting or other image degradations. To give you an idea: a 16 stop ND filter will do: it will turn an exposure time of 1/250th of a second into 4 minutes so you can use it for long exposure photography at noon!

As mentioned higher-up, I also use a lot of flash. Because the Fuji has a sync speed of 1/180th, this means that during the day, in sunny conditions, even at my lowest ISO of 200, I’ll be stuck with apertures of f/11 to f/16. But what if I want to shoot my fancy 56 f/1.2 at f/1.2? I might need a shutter speed of 1/4000th or even beyond that. Which is way beyond the sync speed of my flash. The solution lies… again… in neutral density filters. A neutral density filter allows me to use flash in bright daylight (e.g. for fill flash) with a wide open lens and still keep my shutter speed at or below the 1/180th sync speed. But on the other hand, when using ND’s for flash, I don’t want to use a fixed ND, because the lighting conditions can often change quickly by a couple of stops. So, suppose I’d need a fixed 6 stop ND in one outdoor location, 30 meters further the light might be 3 stops less intense. With the same filter, I would suddenly be at 1/25th of a second, which becomes dangerous to handhold. And I don’t want to have to continuously change filters. So, the solution I came up with is the following: I use a 6 stop ND and a variable 1-5 stop ND. Depending on whether I stack them or not, that gives me between 1 and 11 stops of sun-stopping power without having to change filters too much.

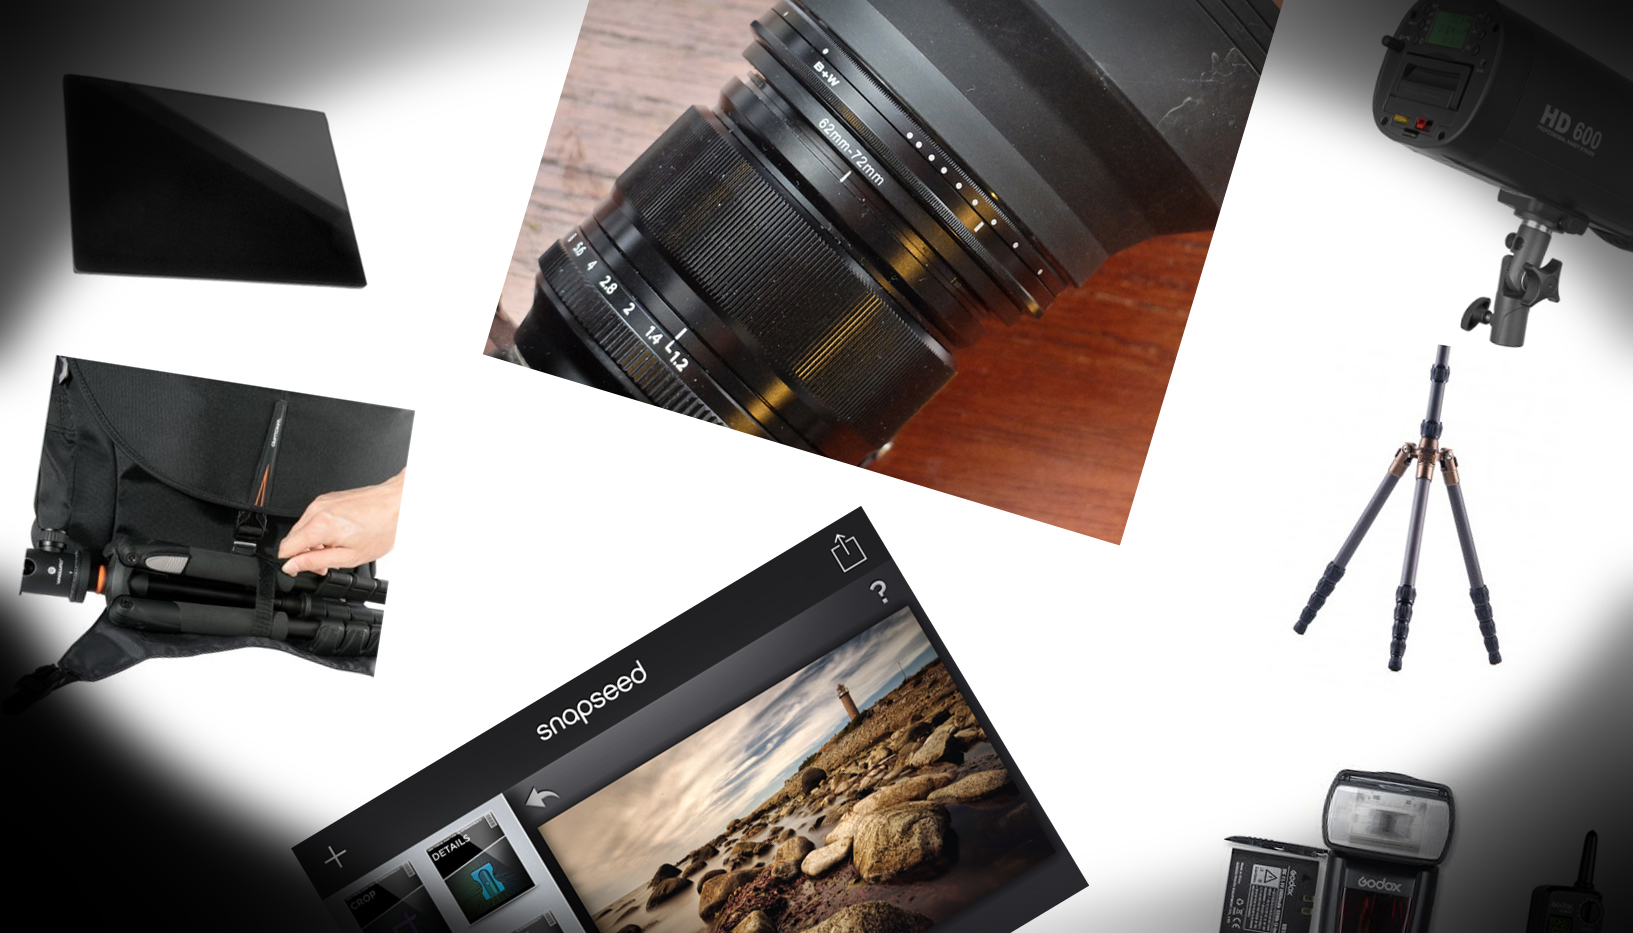
And the beauty is that, if there’s enough sun (and I wouldn’t use them if there wasn’t), my X-T1 still manages to focus through 10 stops of ND! Brilliant, isn’t it? Oh, and by the way, that lens hood you see is a collapsible one by Caruba: I needed a lens hood with a wider diameter because instead of buying separate circular NDs for each lens diameter, I bought them to suit my biggest lens (the 10-24) and I use step-up rings.

5 – My iPhone
An iPhone (or any smartphone, for that matter) is a great travel photo accessory. First of all, by means of the Camera Remote App (iOS link, Android link), I can remotely trigger my X-T1. That’s not only helpful when doing longer exposures, but it also helps me if I want to take photos inconspicuously. Mind you, I generally ask permission (with the flash setup that I often use, it’s hard not to, anyway) but every once in a while there are scenes where raising the camera to my eye would probably kill the scene. In those cases, I use the Camera Remote App and frame the shot from my iPhone. I can even tap the screen to choose my focus point! I also have the free Snapseed editor – it’s so good at improving your images that on the last Rajasthan Photo Trek, we’ve come to call it ‘Snapcheat’! (iOS link, Android link).

Other essential apps are the instax SHARE App (iOS link, Android link) which – while waiting for the firmware update that allows for direct printing from my X-T1 to the portable Instax Share printer (see tip 9) – lets me print images that I saved from my X-T1 and processed in Snapseed to that little wonder of a mobile printer.

Finally, I also like to use the Camera Remote app for bracketing for HDR. For reasons unknown to me, the bracketing in the Fuji cameras is limited to 3 shots with only 1 stop difference between them. For capturing scenes with extreme contrast, that’s often not enough, as shown below. While I could use the EV compensation wheel on the camera, that causes me to physically touch it and even the smallest displacement can lead to alignment issues and ugly artifacts afterwards.


Other than that, my iPhone comes in handy because it allows me to geotag my photos using the same Camera Remote App. However, because that requires me to set up a connection each time I want to geotag, I generally use a dedicated geotagging App (I use Geotagphotos Pro) (iOS link, Android link) and then sync the App’s tracklog with my photos in Lightroom. Finally, I also have a Depth of Field calculator app.

Part 2 can be read right here!
About Piet Van den Eynde
Piet Van den Eynde is a Belgian freelance travel photographer, author and trainer. He’s a Fujifilm Ambassador and has published over 10 books and eBooks on digital photography and postprocessing with Adobe Lightroom. He also organizes two travel photo workshops each year in India with X-Photographer Matt Brandon from www.thedigitaltrekker.com. Next one up is the beautiful Indian state of Rajasthan and has only two spots left. His English eBooks such as his bestselling Lightroom 5 Unmasked are published by Craft & Vision. Discount code FUJISAVINGS will save you 30% on any of his Craft & Vision eBooks and his Photoshop for Photographers video training until end of February 2015. Piet’s own blog can be found here: http://www.morethanwords.be/blog
Pingback: Fujifilm Podcast With Piet Van den Eynde 2015 | The Digital Trekker Blog & Photography