Tutorial: Using Film Simulation modes

w360_6415757_tutorialbannerfordotmailerFujifilm knows film. The clue is in the name. And they’ve spent a lot of time and effort bringing classic film traits to life in the current range of digital cameras.
Each Film Simulation mode* has unique properties to help you express your creativity without the need for time-consuming post-production. Varying degrees of Saturation and Tonality are composed with just the right balance to bring each Film Simulation mode to life.

Film Simulation ModesThe camera’s Electronic Viewfinder can show the effects of the selected Film Simulation mode before the shot is taken, and if you shoot RAW, the in-camera RAW processing function allows any of the Film Simulations to be applied post-capture, broadening your shooting options.

Which Film Simulation mode is best for your shot?

I cannot tell you this, but I can recommend certain Film Simulation types that lend themselves to particular photography subjects. However, just treat this like an initial guide and explore for yourself to find your own style.


Portraits

I would recommend Astia or Pro Neg. Std. Astia’s soft tones are perfect for capturing beautiful skin tones. Pro Neg Std. takes the look slightly further by also lowering the colour saturation.

Click on any of the images for a larger view.


Street photography

I recommend Classic Chrome or Monochrome. Photography is often called the “Art of omission”. Classic Chrome and Monochrome settings omit the element of colour in order emphasise the story you want to tell.


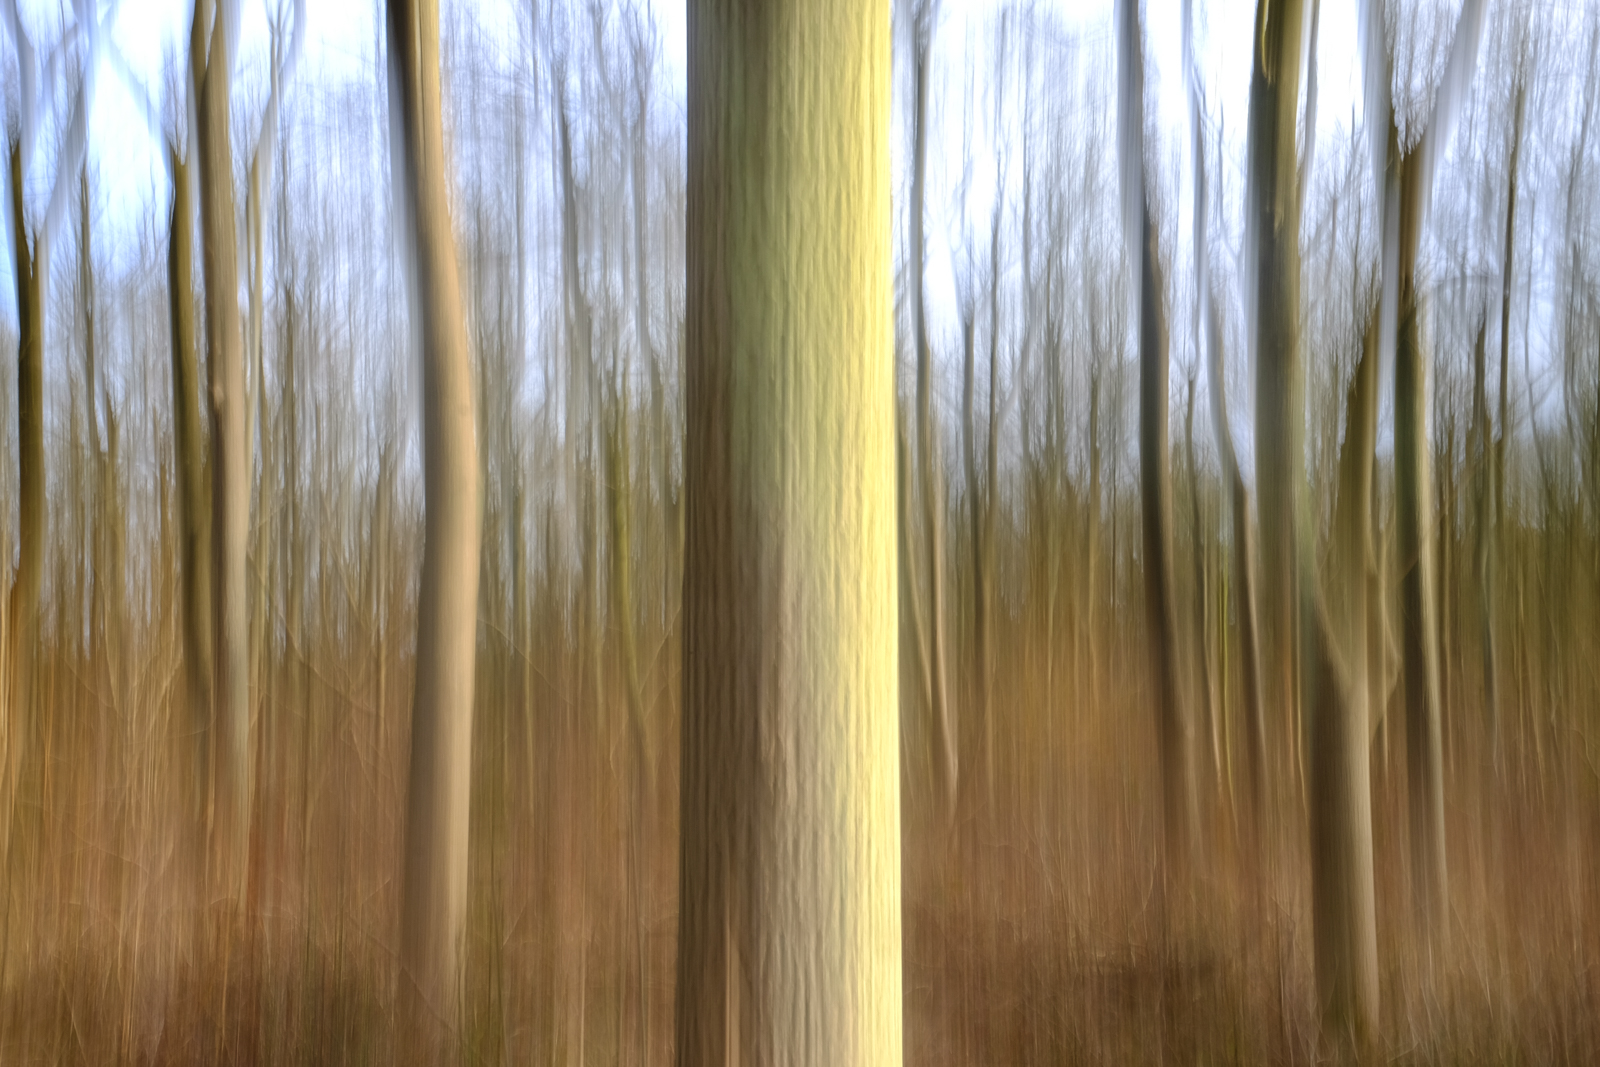
Landscapes / Seascapes / Cityscapes

I recommend Velvia. At the opposite end of the scale from Classic Chrome, Velvia uses colour as the main element. It adds more depth and the colours become more vibrant. There are certain emotions that only image colour can deliver and this is where Velvia comes in.


Image comparison

The images below were all created using the X-T1’s in-built RAW file converter and are all JPGs straight out of the camera.

Colour

Mono


Conclusion

All of the Film Simulation profiles have been developed (pun intended) by people with years of experience working with film to allow you to really alter the feel of the image without the need for lots of time-consuming post processing. Try it yourself and let us know how you get on in the comments below.

Bonus Tip!

If you’ve got a big enough memory card, set your camera to save “RAW+JPG” and then use the in-camera RAW File Converter to convert the same image into different Film Simulation modes after the shot has been taken.

* The number of Film Simulation modes available on your camera will vary.

Camera shake is great!

This is my favourite version - the sun had come out so the shutter speed increased to 1/4sec, but I still got some decent movement
This is my favourite version – the sun had come out so the shutter speed increased to 1/4sec, but I still got some decent movement

Fujifilm spend a lot of money developing systems to help reduce the chance of camera shake from spoiling our shots. Very effective they are, too. But sometimes, moving the camera during the exposure can be beneficial to your shots. The most obvious example is panning, where you track a moving subject, but there are other techniques that come under the banner of intentional camera movement (ICM) and it’s these that we’re going to explore here.

Pretty much any subject can be used for ICM, but it’s often best to loosely match the shape of your subjects to the movement you intend to make. Trees, for example, are ideal for vertical movement, whereas a landscape is good if you choose to move the camera horizontally. You can also twist the camera from side to side, which can induce a dizzy feeling in the viewer, so this works well if you’re looking up at a tall building or trees.

The actual movement part of the process can be done with your camera hand-held, but you’ll get far more consistent results if you mount your camera on a tripod. Even so, make sure you’ve got a fully charged battery and a card with plenty of space on it as you’ll inevitably get more misses than hits at first. As you’re going to be using a long(ish) shutter speed, also consider taking a polariser or neutral density filter with you, particularly if it’s a sunny day. Right, let’s head to the woods…

DSCF3163

1 Here’s my set up; an X-T1 with XF 18-55mm zoom, mounted on a sturdy tripod. The eagle-eyed among you will notice that I left OIS turned on for this quick shot, but I switched it off before I started taking images, and you should too. This avoids electronics trying to take over and reduce the movement.

2 Next, I selected the X-T1’s lowest ISO, the 18-55mm’s smallest aperture (f/22) and the two-second self-timer option. I then switched to the Manual exposure mode and took a meter reading from the scene, which gave me a shutter speed of 1/2sec. Ideally, you should be working with a shutter speed between two seconds and 1/4sec, so this was perfect and didn’t require the help of filters.

DSCF3179 copy

3 Finally, I locked off all the movements on the tripod head with the exception of tilt, pressed the shutter release and then quickly moved the head backwards and forwards. These movements should be as smooth as possible and the two-second delay gives just enough time to get into rhythm. If you find this isn’t enough time, use the ten second delay.

Once you’ve got used to the actual picture taking technique, try a range of different compositions. I like to have a tree prominent in the front of the shot, but you may opt for a more uniform. Take a look at the images below to see what I got.

ICM on the computer
There may be times when you want to have a go at ICM, but don’t have a tripod with you. On these occasions, you can rely on Photoshop. These two shots were done simply by using the Motion Blur filter.

To do it, open the image in Photoshop, then select Filter-Blur-Motion Blur. In the dialogue box that opens, you can choose the angle of blur (I left these of 0°), then simply move the pixel slider until you get the effect you’re after. Simple.

If you found this tutorial useful, do let me know. I’m happy to take suggestions for techniques you’d like to see, so just add your own views and comments below.